

I made this one as a gift for my mom a few years back.
I only have one picture of it, since I gave it away, but it was a fun project that helped me develop some ideas for future projects. Before this project, every LED installation I did was very different from the others. I still do a wide variety, but this project gave me something new - a platform. I essentially just reinvented the lightbox, but it seemed really novel to me at the time! All in all I have made somewhere between 4-9 like this one, (depending on how you count one of them). The new thing to me was the re-usable frame that I could print out for each project, providing me a consistent size, depth, holes for cables and hanging, and a cover that would capture a diffuser and hold it into the right position above the LEDs.
I played with dozens of ways of working with this, some of which you'll see in other articles, and many which are lost to time. I utilized stencils, lithopanes, gels, layering diffusers, 3d printing diffusers. I grabbed whatever I could think of to create interesting shapes of illuminated color. My usual method of invention is keeping enough things up in the air at once, that the right combination of things to solve my problem randomly fall into my lap at any given time. Sometimes that works well, sometimes I it all falls apart. Thankfully, this was one of the former.
The frame itself is 3d printed, I mocked it up in tinkercad (which is one of those "good enough that I don't seek an alternative, but not really good enough to recommend" sorts of things) and got something workable after only a few revisions. It is about 12" x 12" x 3/4", and comes apart like a shoebox - deeper on the inside than the top, but both have some depth. (Top, bottom - I do not claim any talent with 3d modeling, but these worked well enough for my purposes).
Inside, I affixed several LED rings (WS2812b on a ring board) in a geometric pattern facing out, and 3d printed some circular stencils to set on top of them. The stencils were about the same size as the grey hexagons in the image, although those were for another, similar, project. These served to keep the light in circular "channels" which were thrown towards the surface. The surface was a piece of acrylic made by TAP Plastics - their #668 Black LED Acrylic. I really like this stuff and have used it in a bunch of other projects. This is the project that helped me discover it. It is thin, lightweight, reasonably cheap, opaque when unlit, and diffuses color really well.
All of this stuff got crammed into the frame with a micro-controller (This one almost certainly used an ESP8266 D1 Mini, but I don't recall for sure). The end result looked neat.
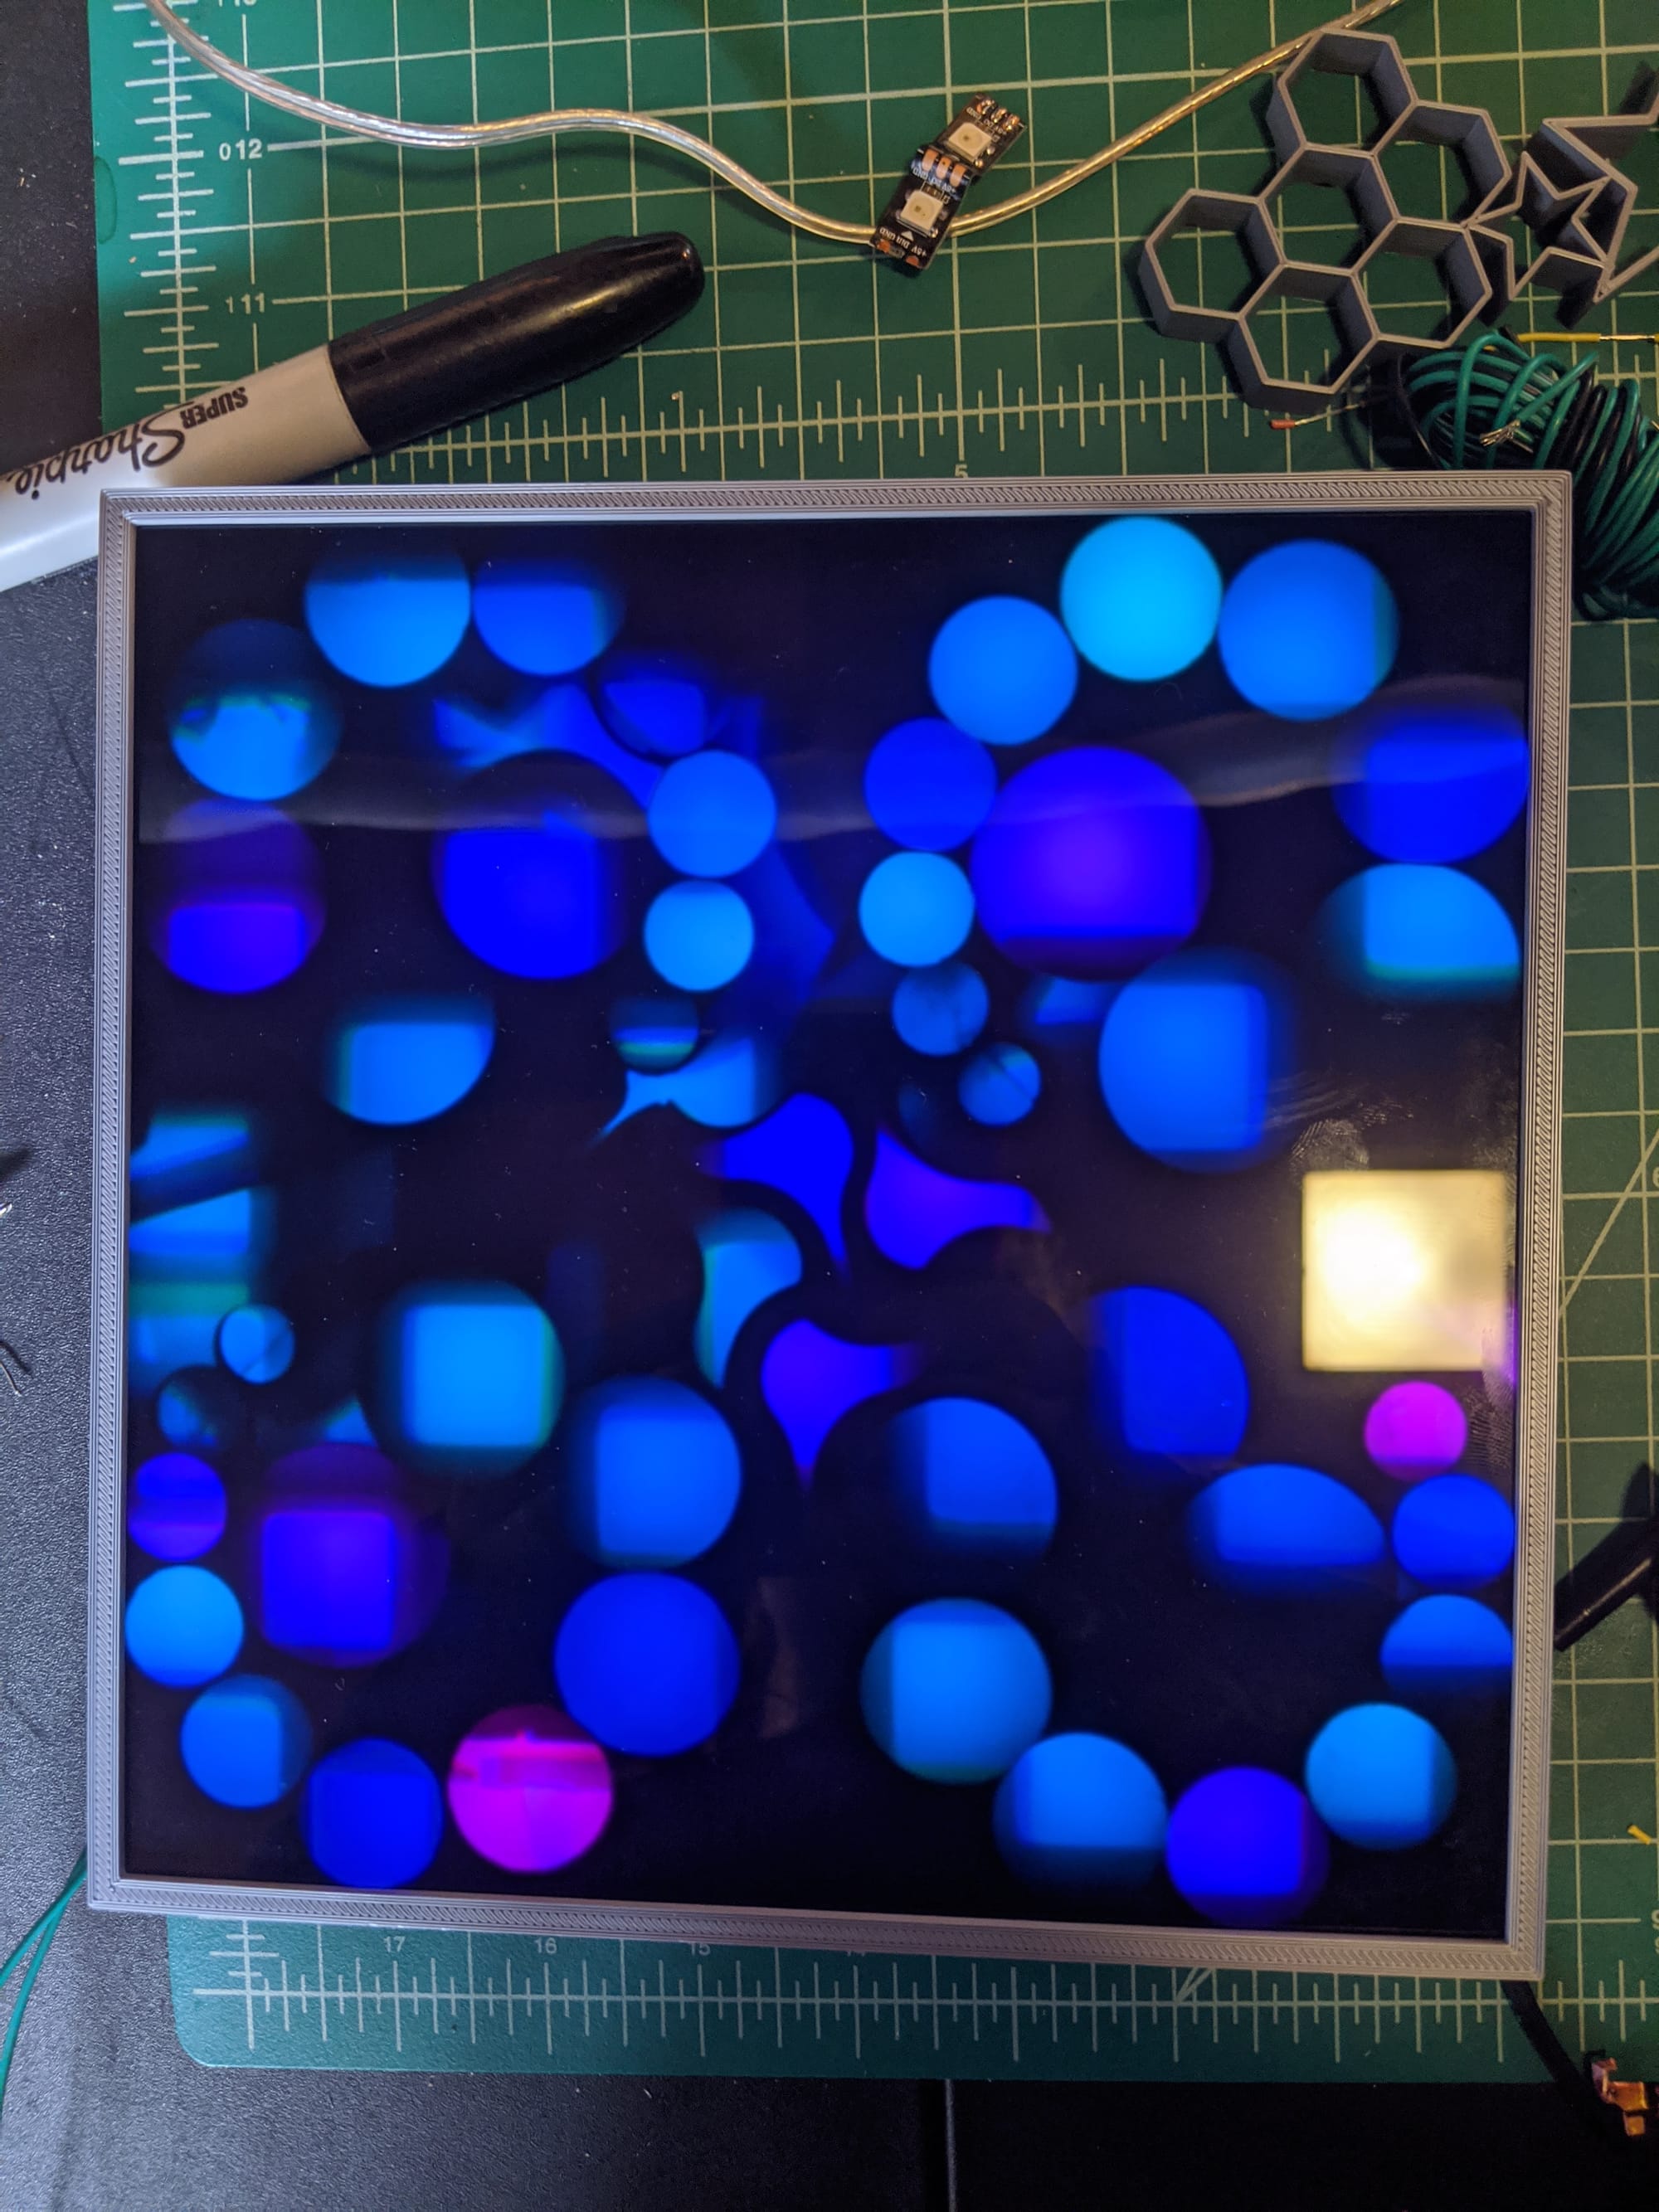
The lights danced across the surface in one of 16 patterns I programmed it with, randomly selected every few minutes. Most of the effects were slow moving and subtle, with a couple that were more active. There was a web interface that let the user select which program was running, the speed and colors involved, etc.
Overall this one was a notable project, not so much for the product itself, but for what it enabled me to build going forward.
This article is part of a series on LED Art as I attempt to document all of the different LED projects I have built over the years.
More will be added as time goes on. The list of currently available articles can be found here: https://dzw.zentormey.com/tag/leds/
Member discussion: