
Table
This was the first panel light I ever built. It sort of happened by accident, I wasn't setting out to invent a new style of accent light for my living room, it just sortof happened. This one started life as the touch surface for a very early touchscreen interface I was working on around 2009 and 2010. This used an IR camera (I used an old playstation eye camera with a modifed lens) sitting on the floor to look up at the surface of the acrylic (roughly 28" above) and watch for disruptions in the light. I then picked up a piece of fancy Endlighten acrylic (Now called Acrylite LED and edge wrapped it with 850nm IR leds. The way this acrylic works, it bounces the light inside the medium until it is disrupted by an external distortion (like your finger touching the panel). I coupled this with a short throw VGA projector bounced off a mirror, and I had a multi-touch capable PC interface with a table sized display within a couple years of the first iphone.
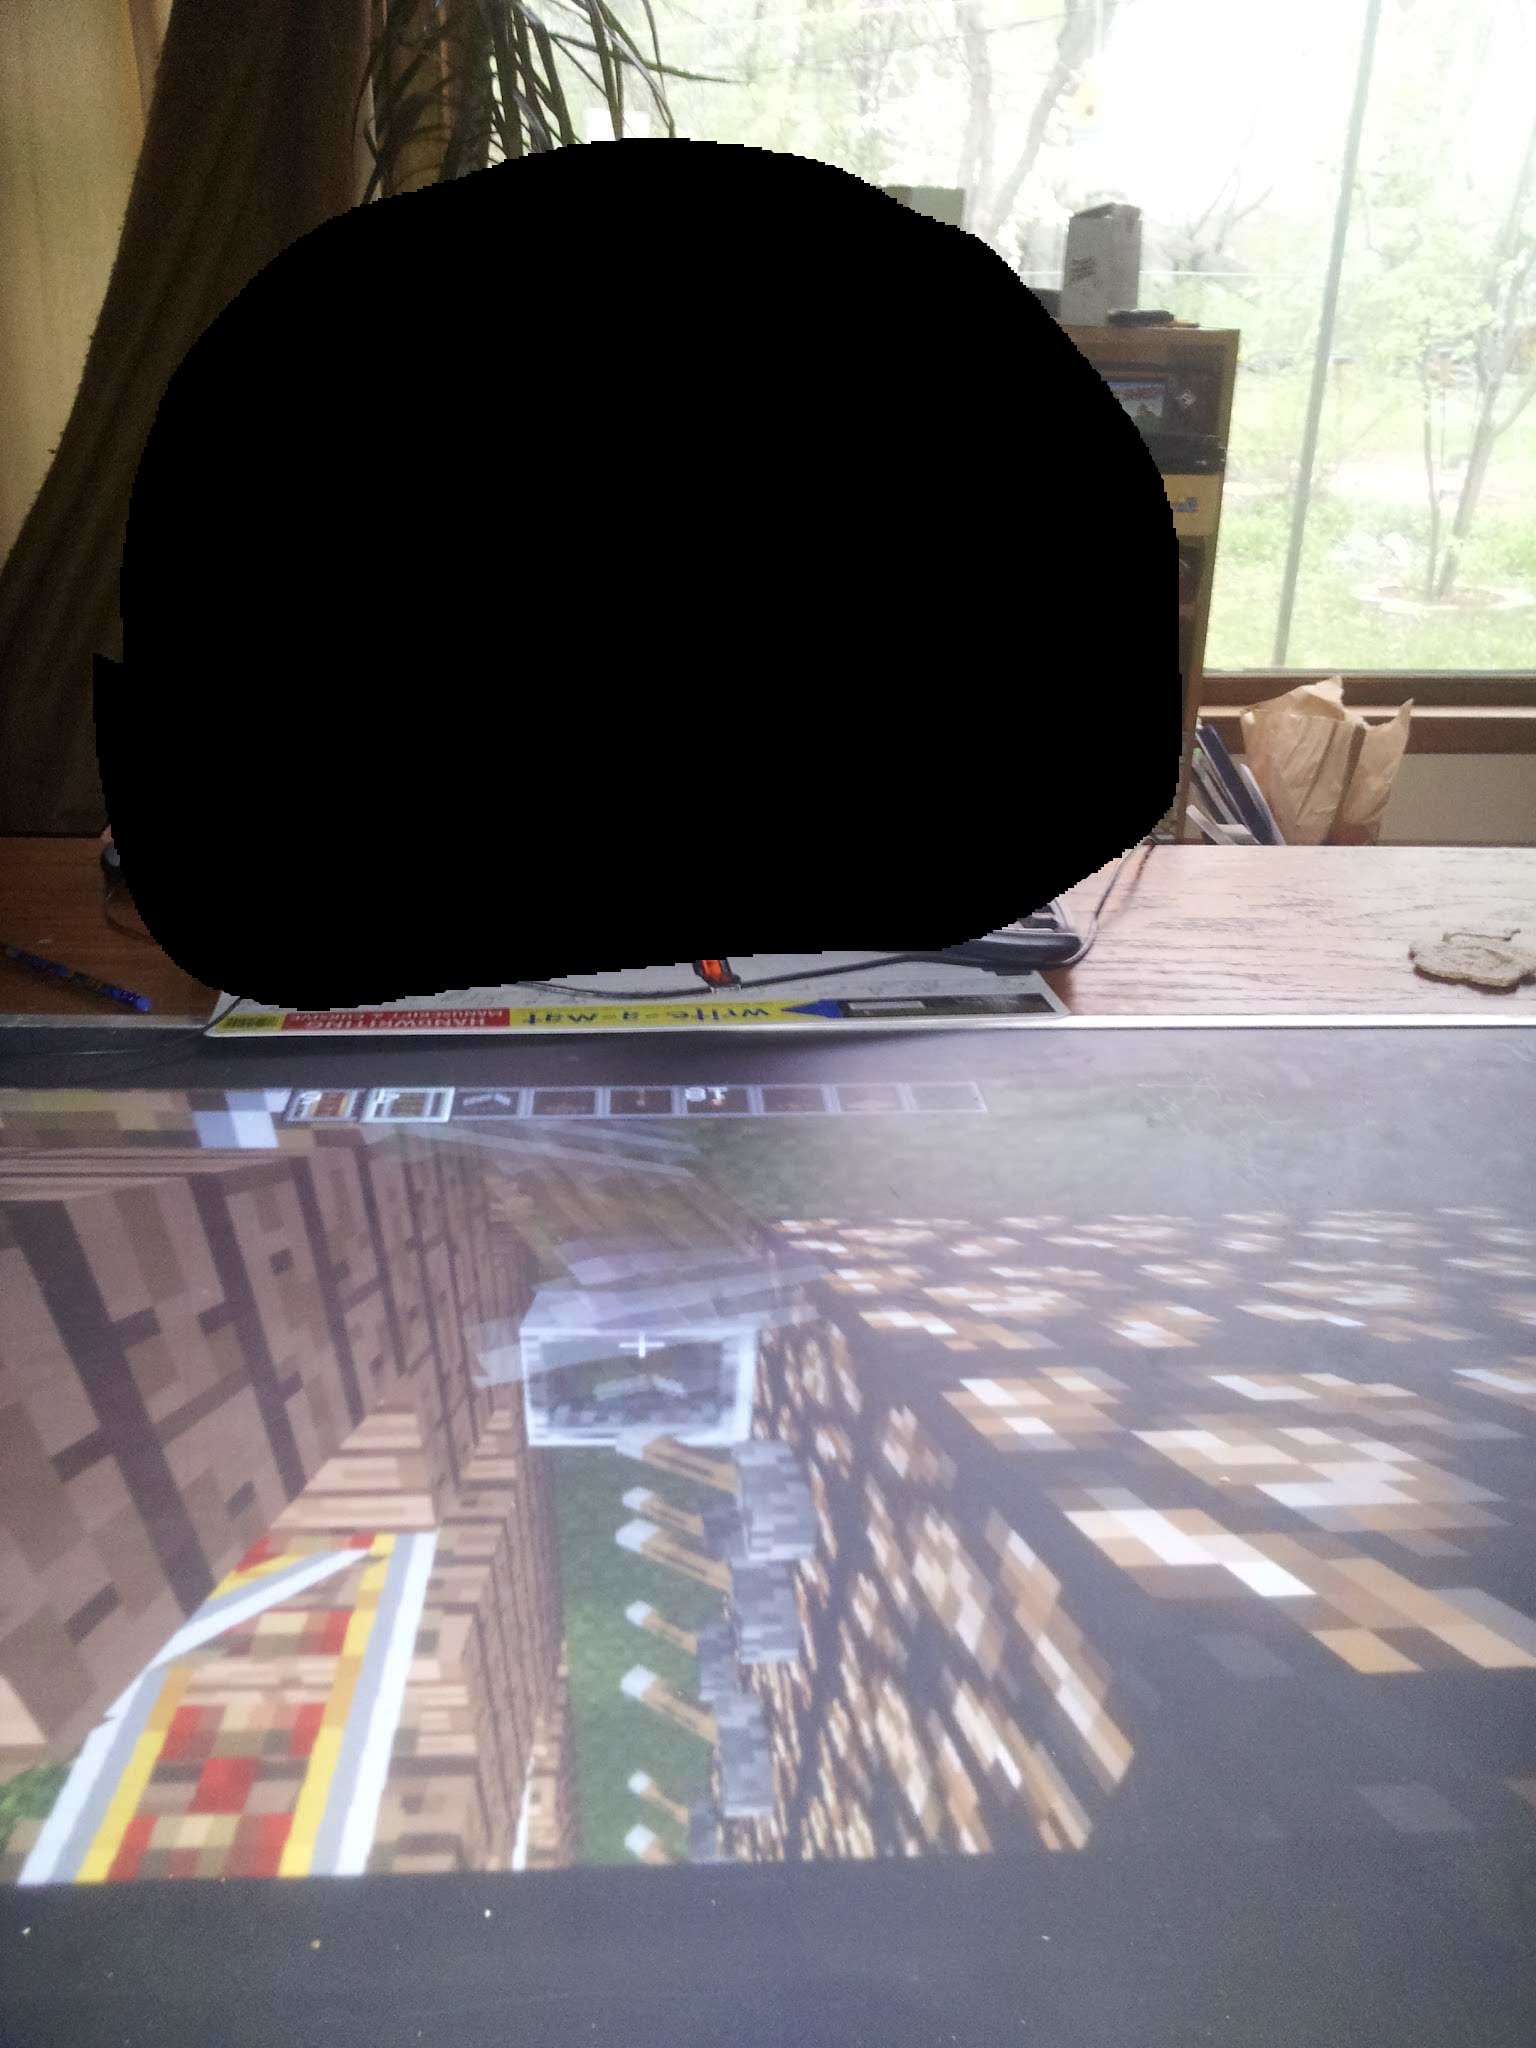
I'll do a separate write-up on that in the future. (ETA: I did that, it is here)
After a time, the novelty wore off (and Microsoft released a commercial version using similar tech) and I lost interest in the table project, so I began experimenting to see if the optical properties that worked well for IR light extended to the visible spectrum as well. It turns out, they do pretty well.

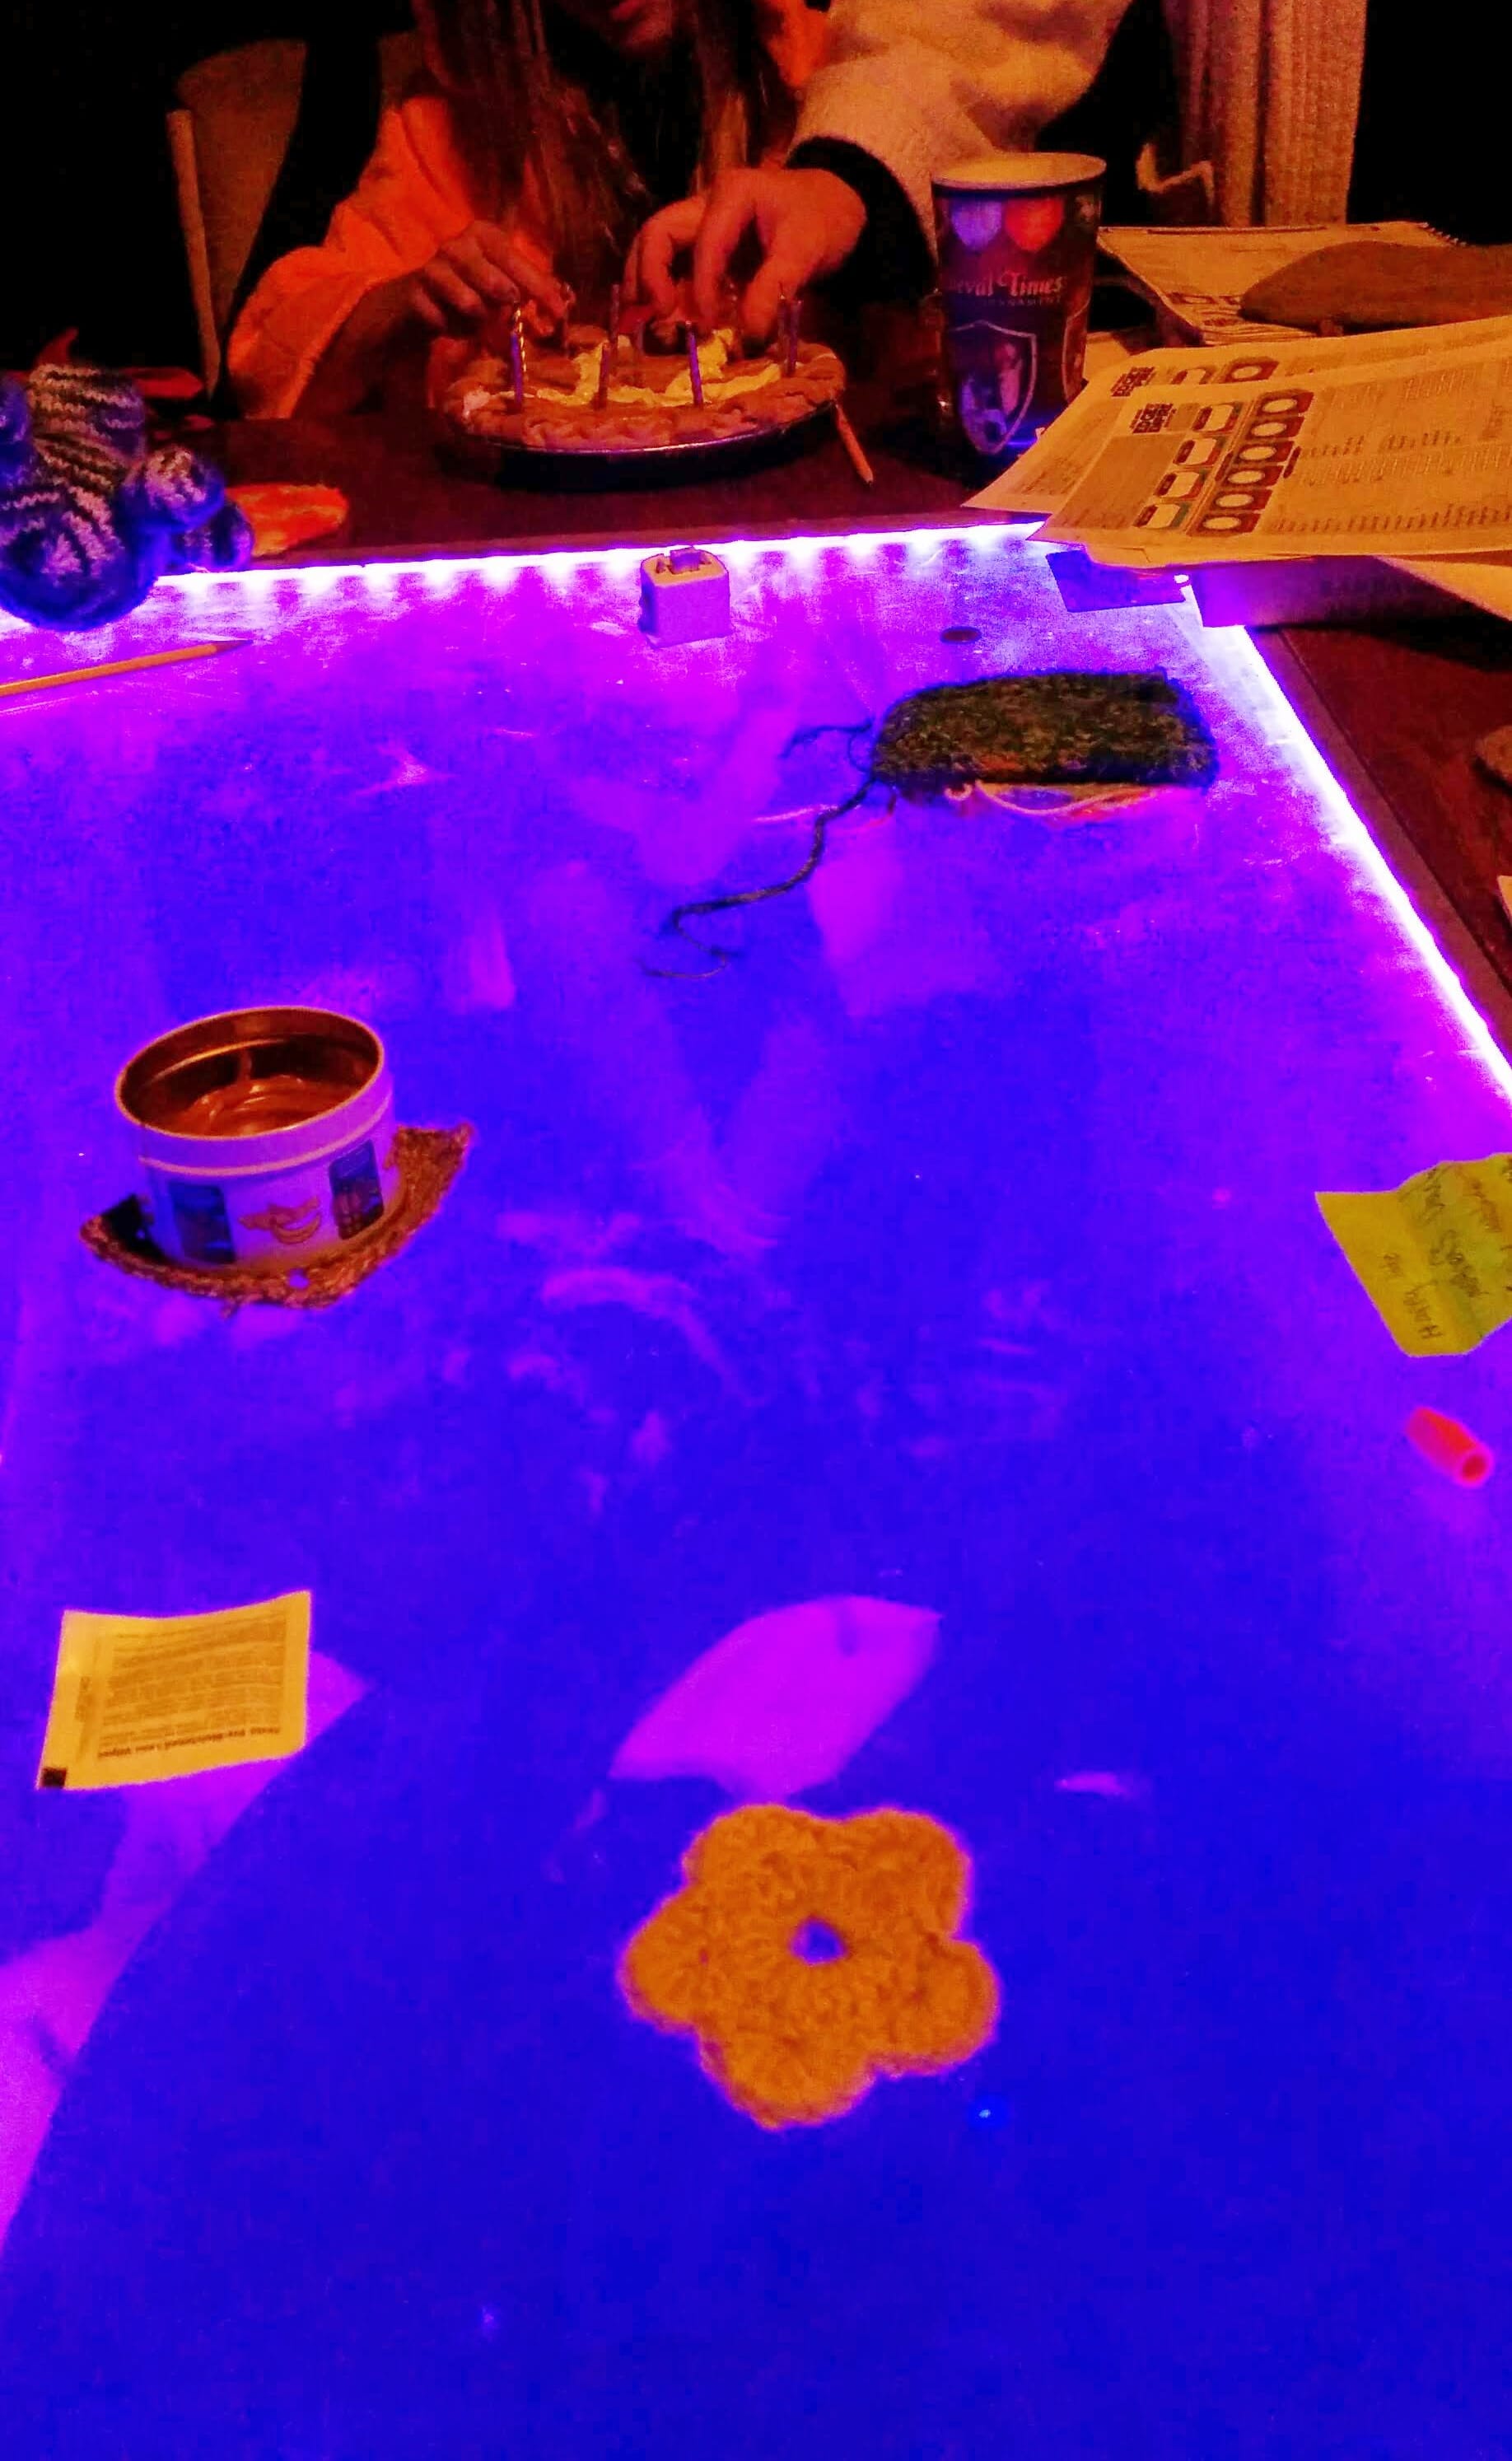
Panel
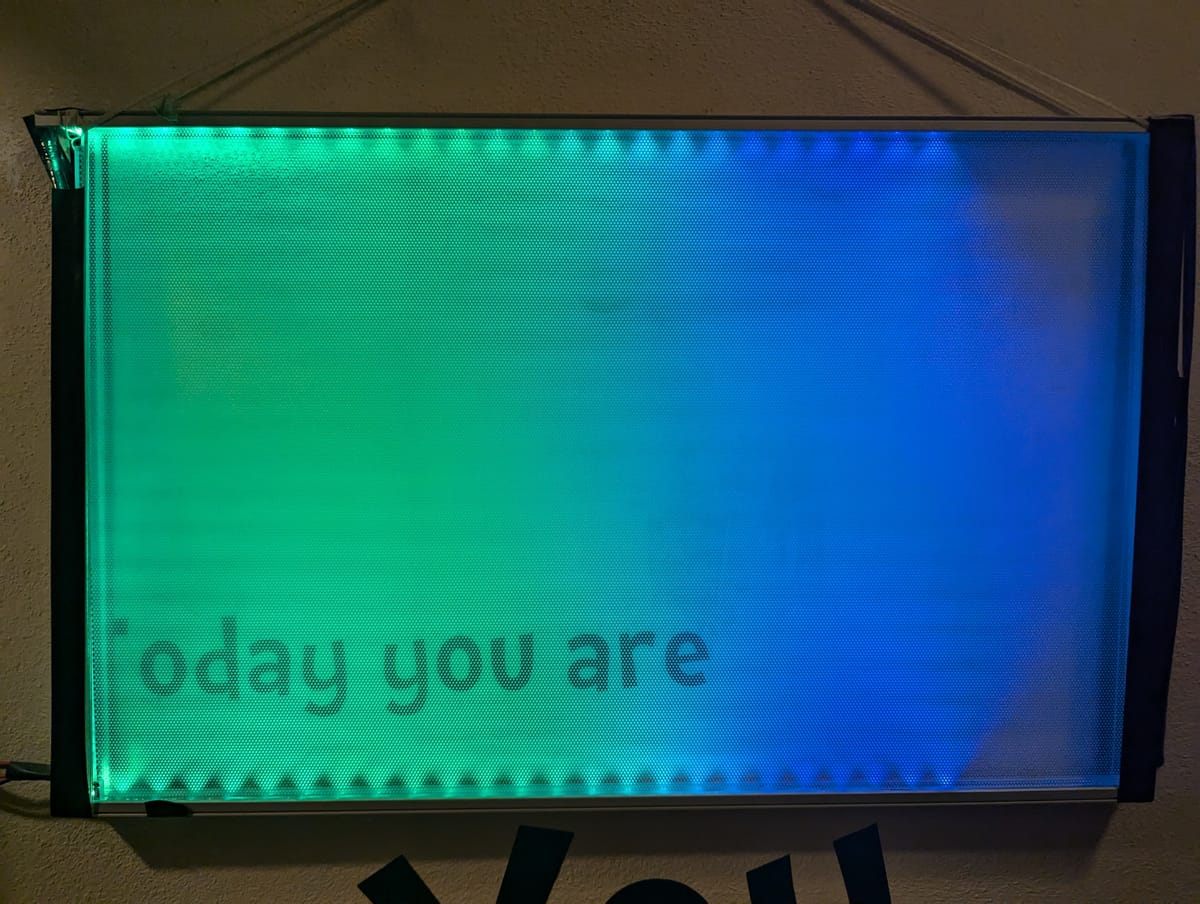
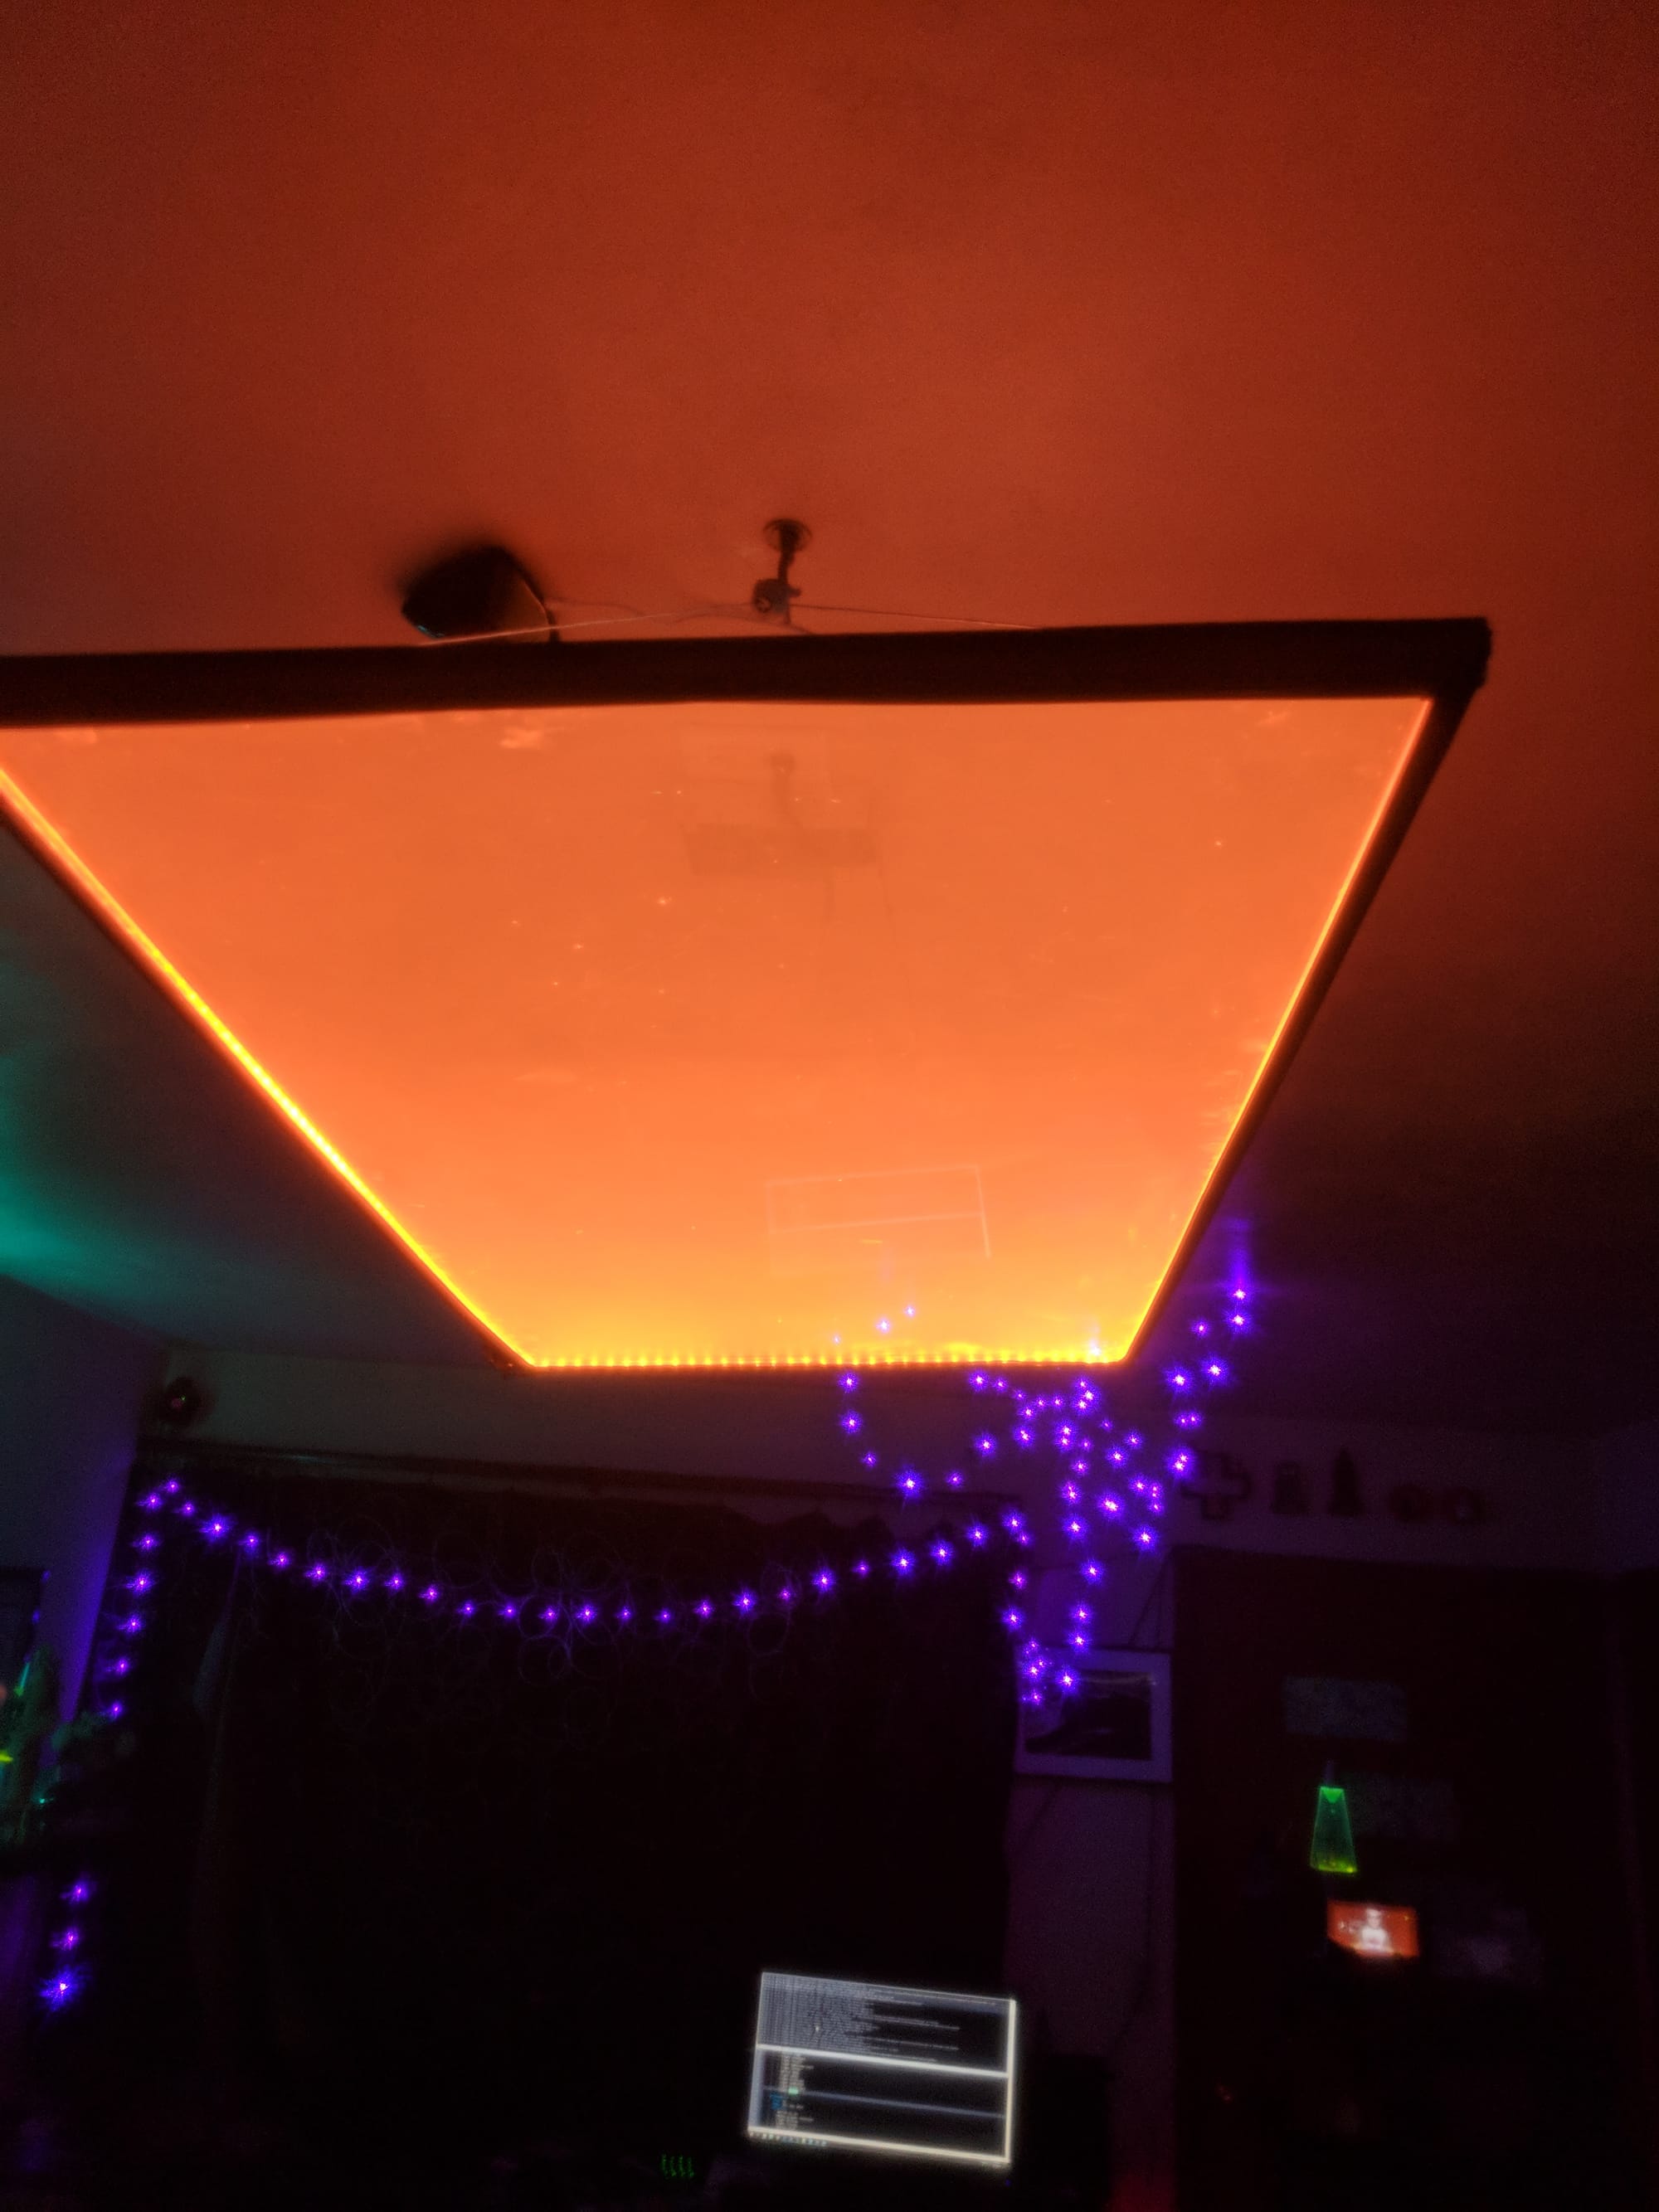
This light can do single color and dominate a room's vibe, or average toward white light to provide illumination.
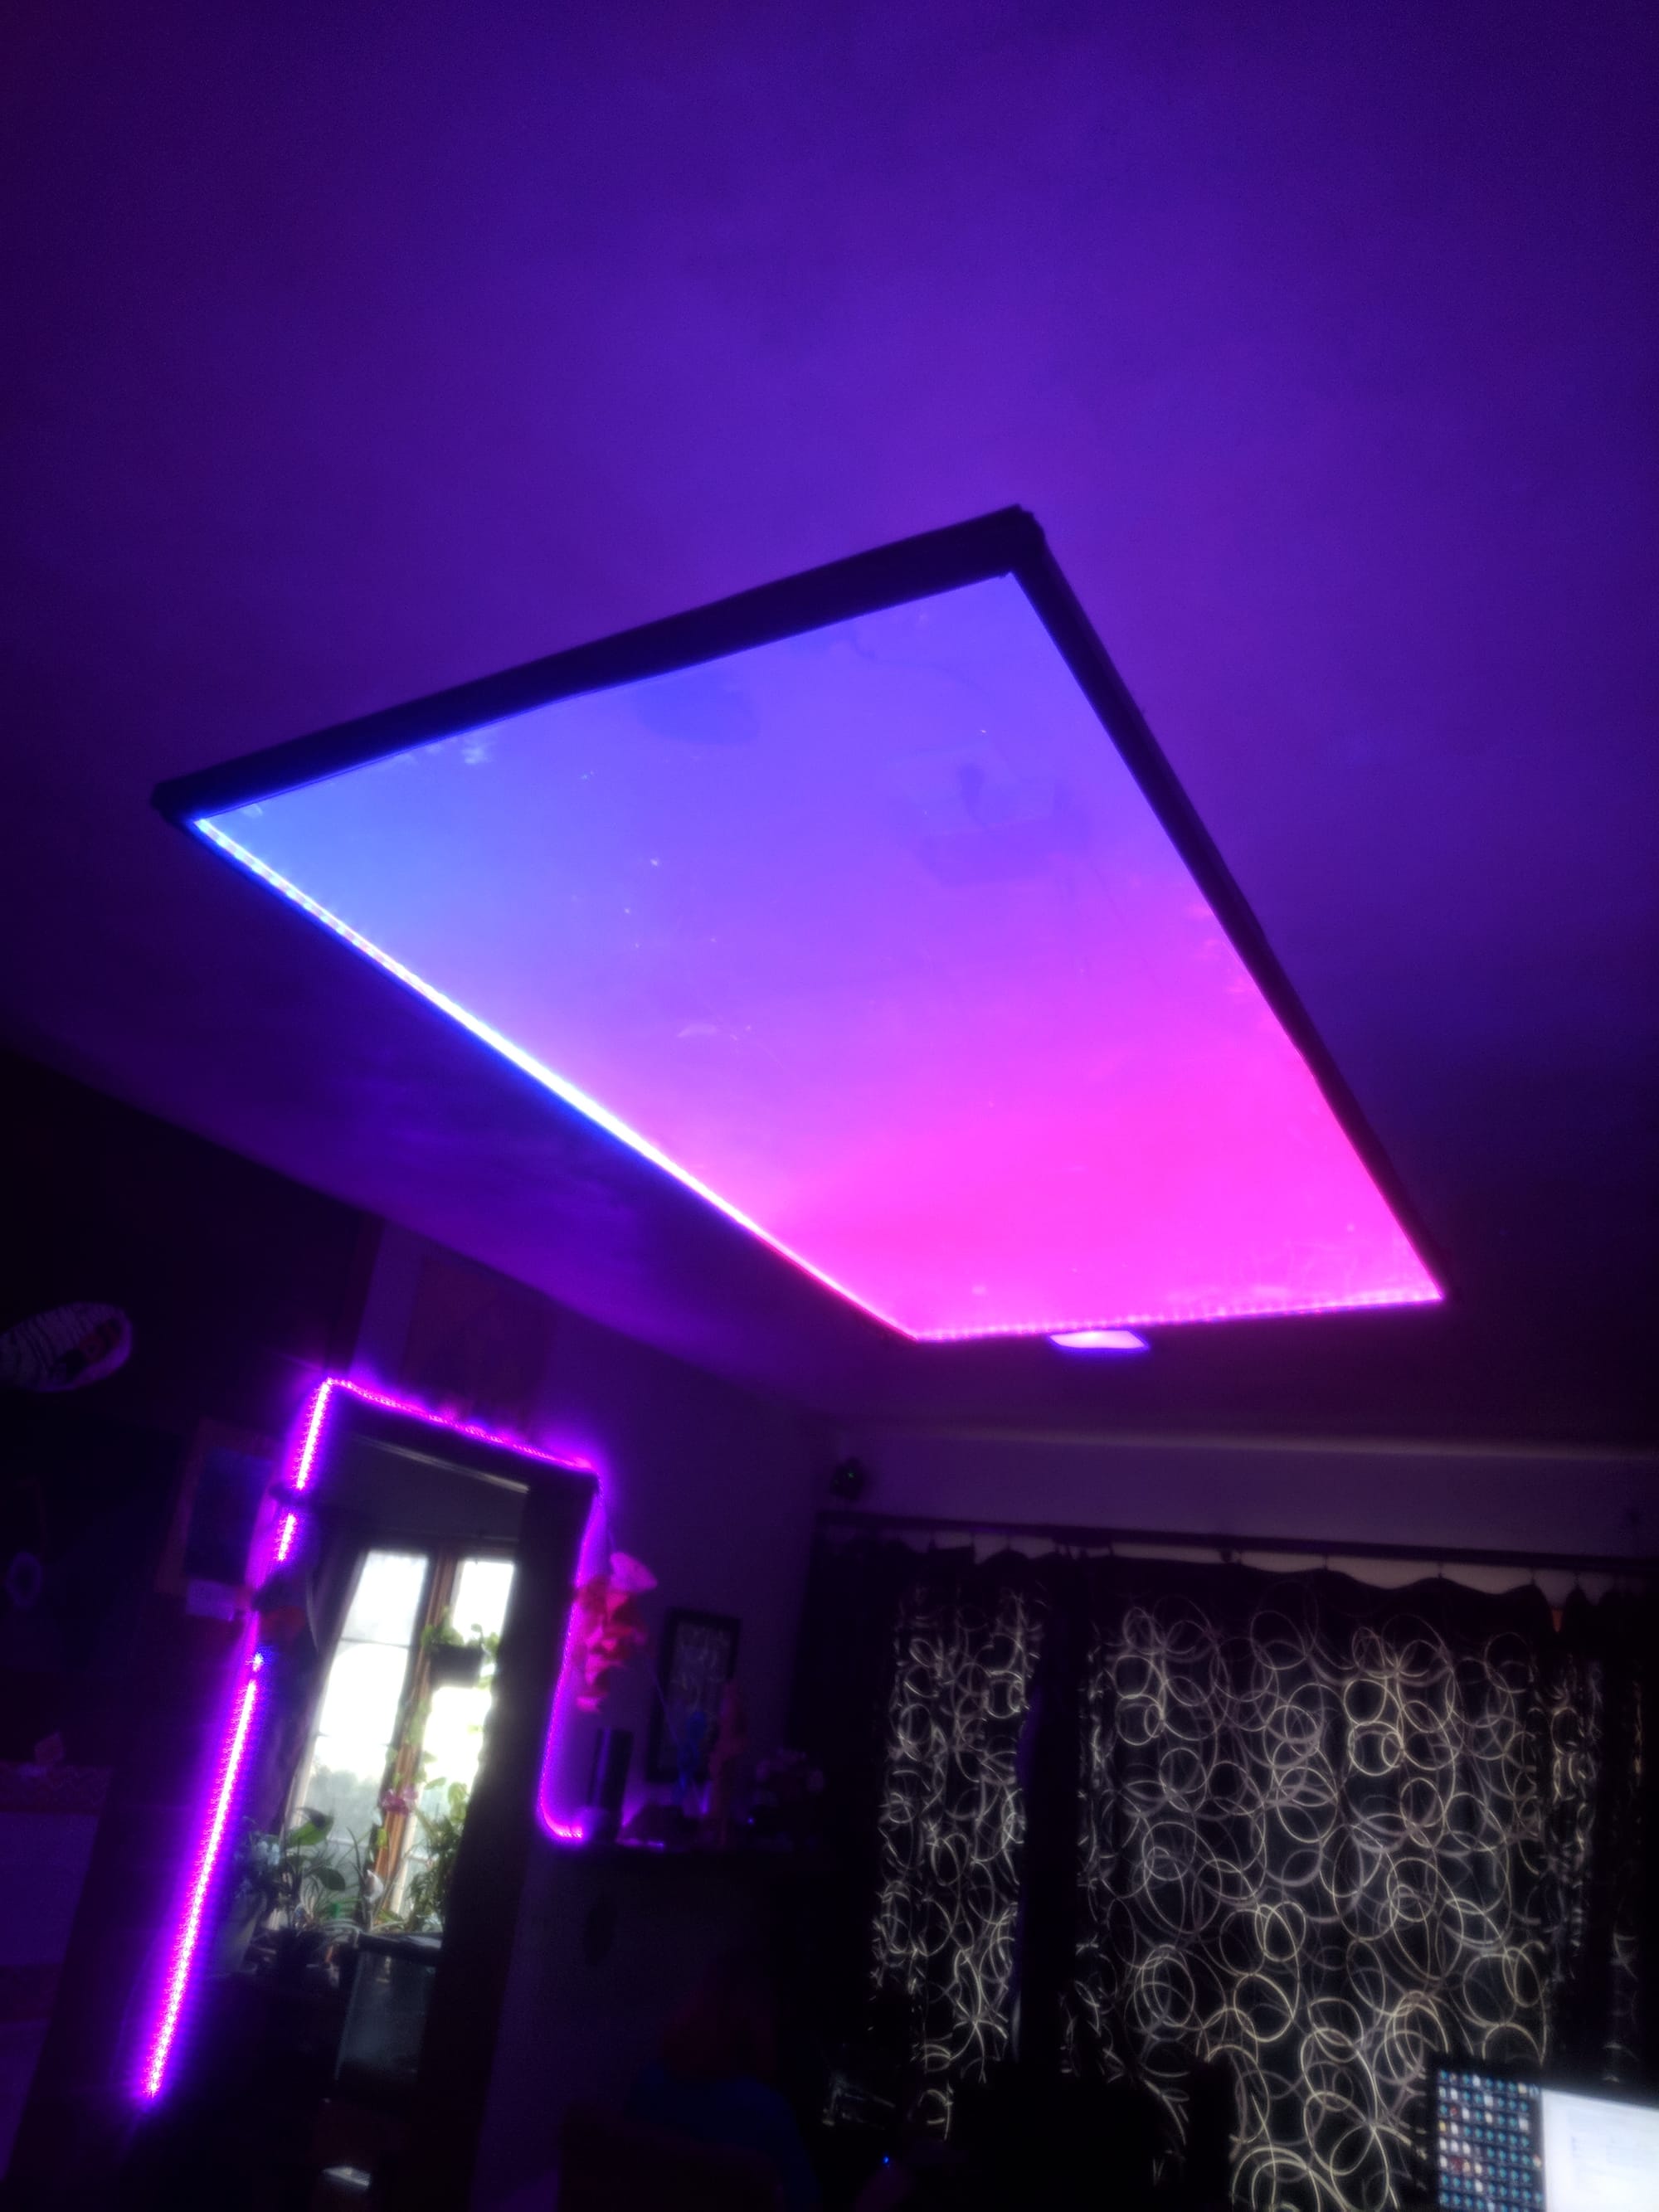
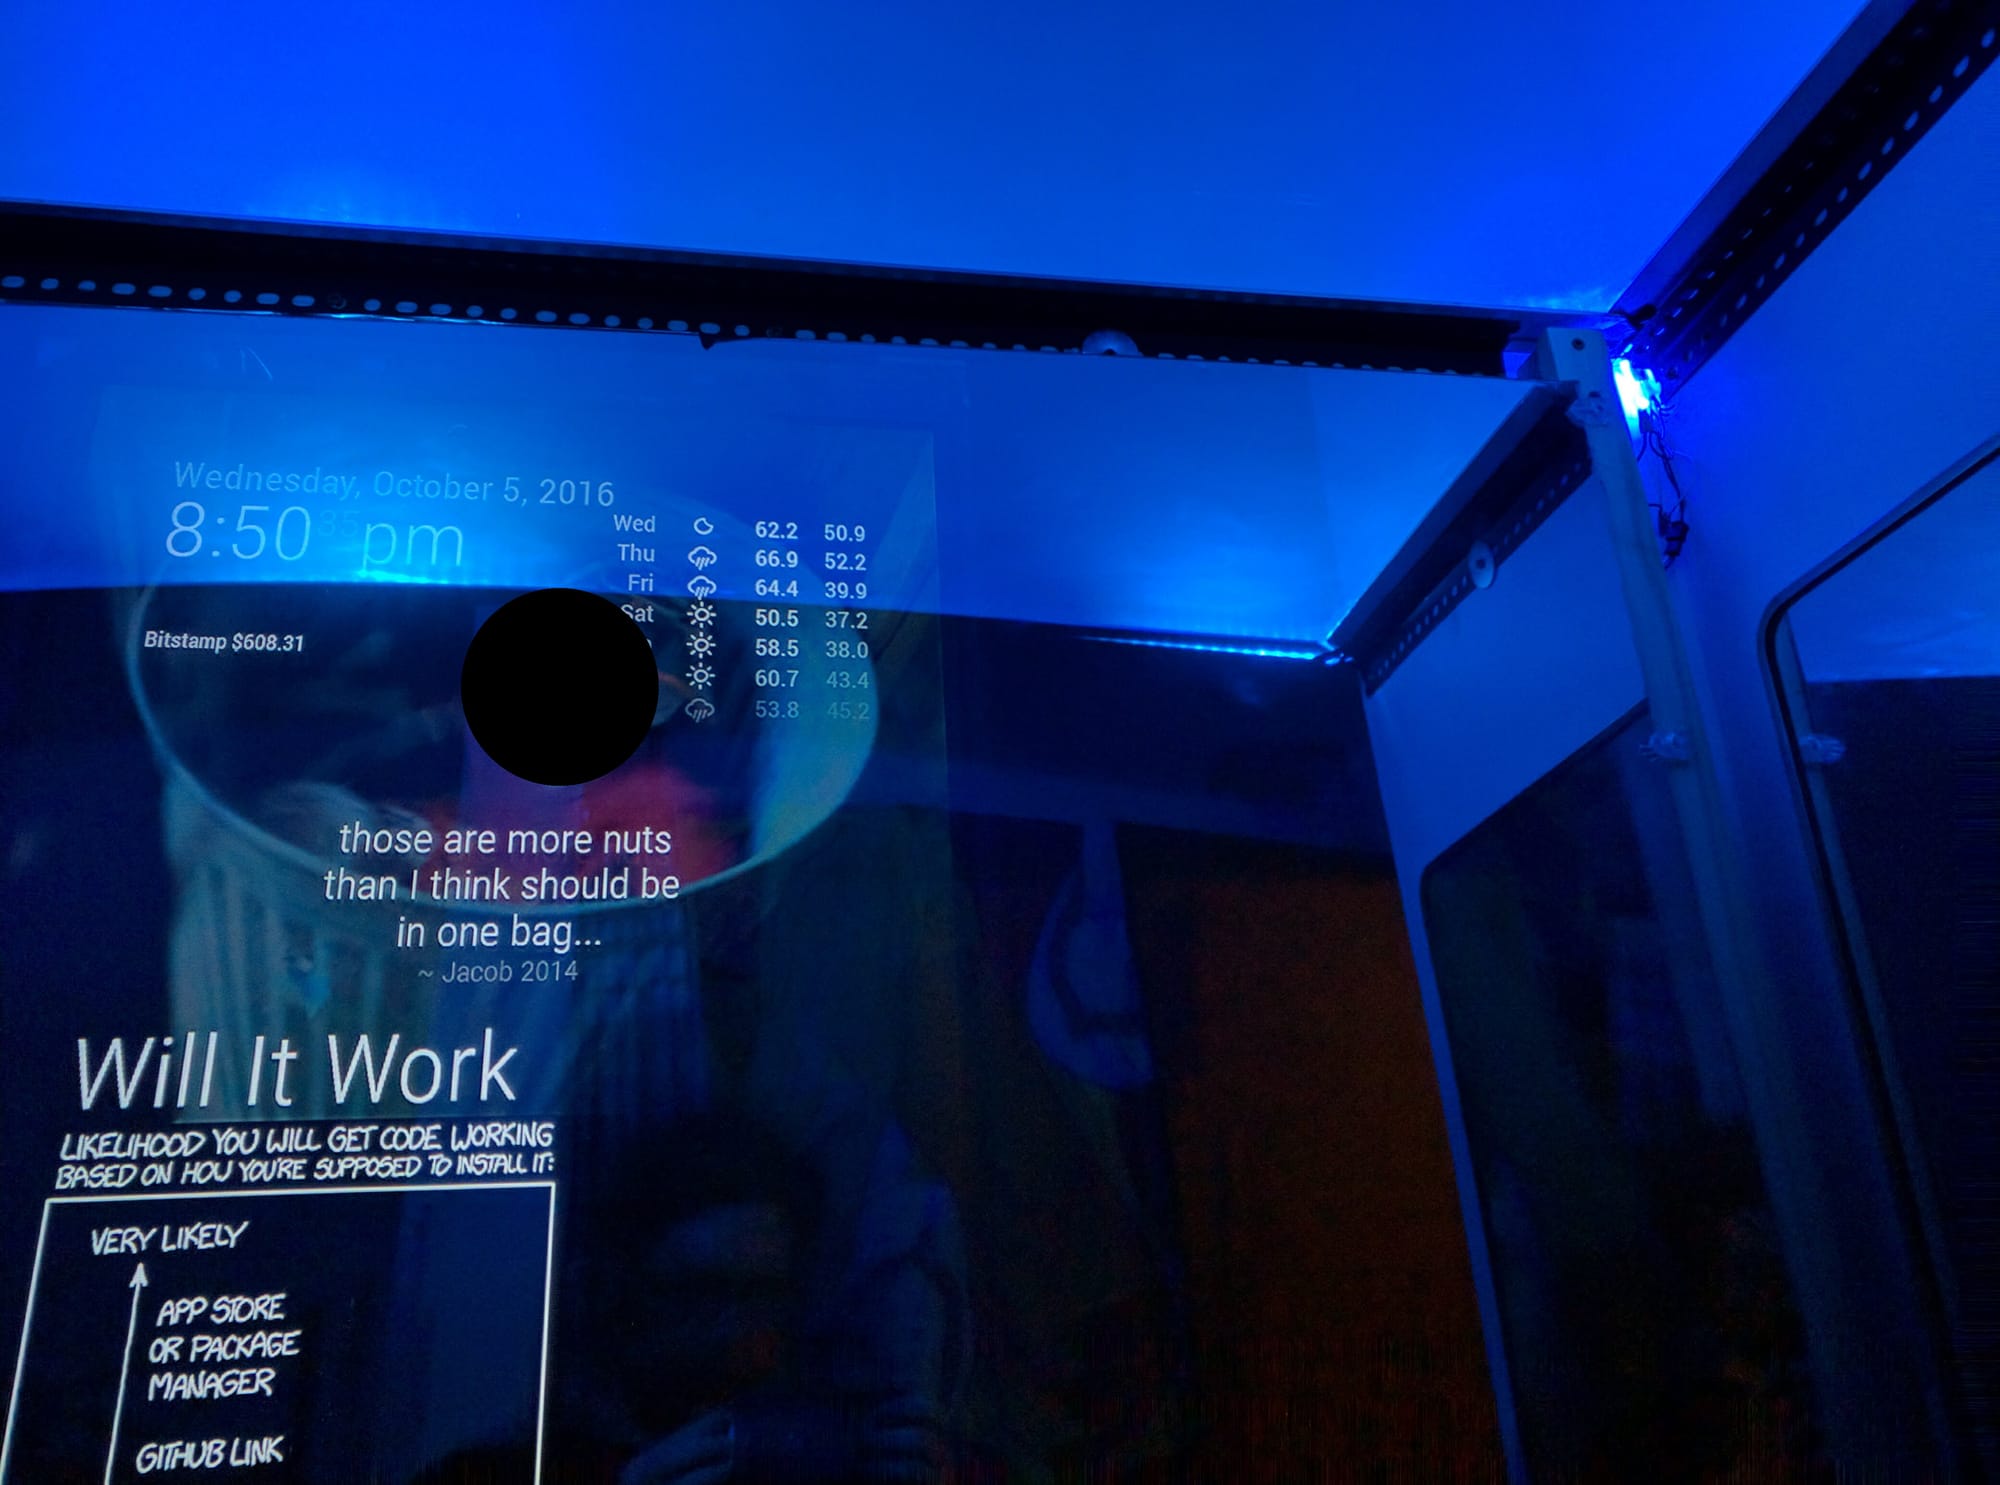
Eventually, it was decided the roughly 8' x 4' table was just too large for our living room, so I disassembled it. The computer was recycled into other systems, the wood surface had new LEDs installed and would become a headboard, and the panel itself was lifted out of the table and hung from the ceiling as an art piece. It really catches your eye when you walk in, especially after dark.
Wallguy
Wallguy is one of my favorites. It has a really neat look that is hard to convey without seeing it in person. It isn't unique or terribly different looking than some of the other lights I've made (heck, I have made half a dozen or so panel style lights) but this one came together really easily and has one of the best diffusers I've ever worked with.
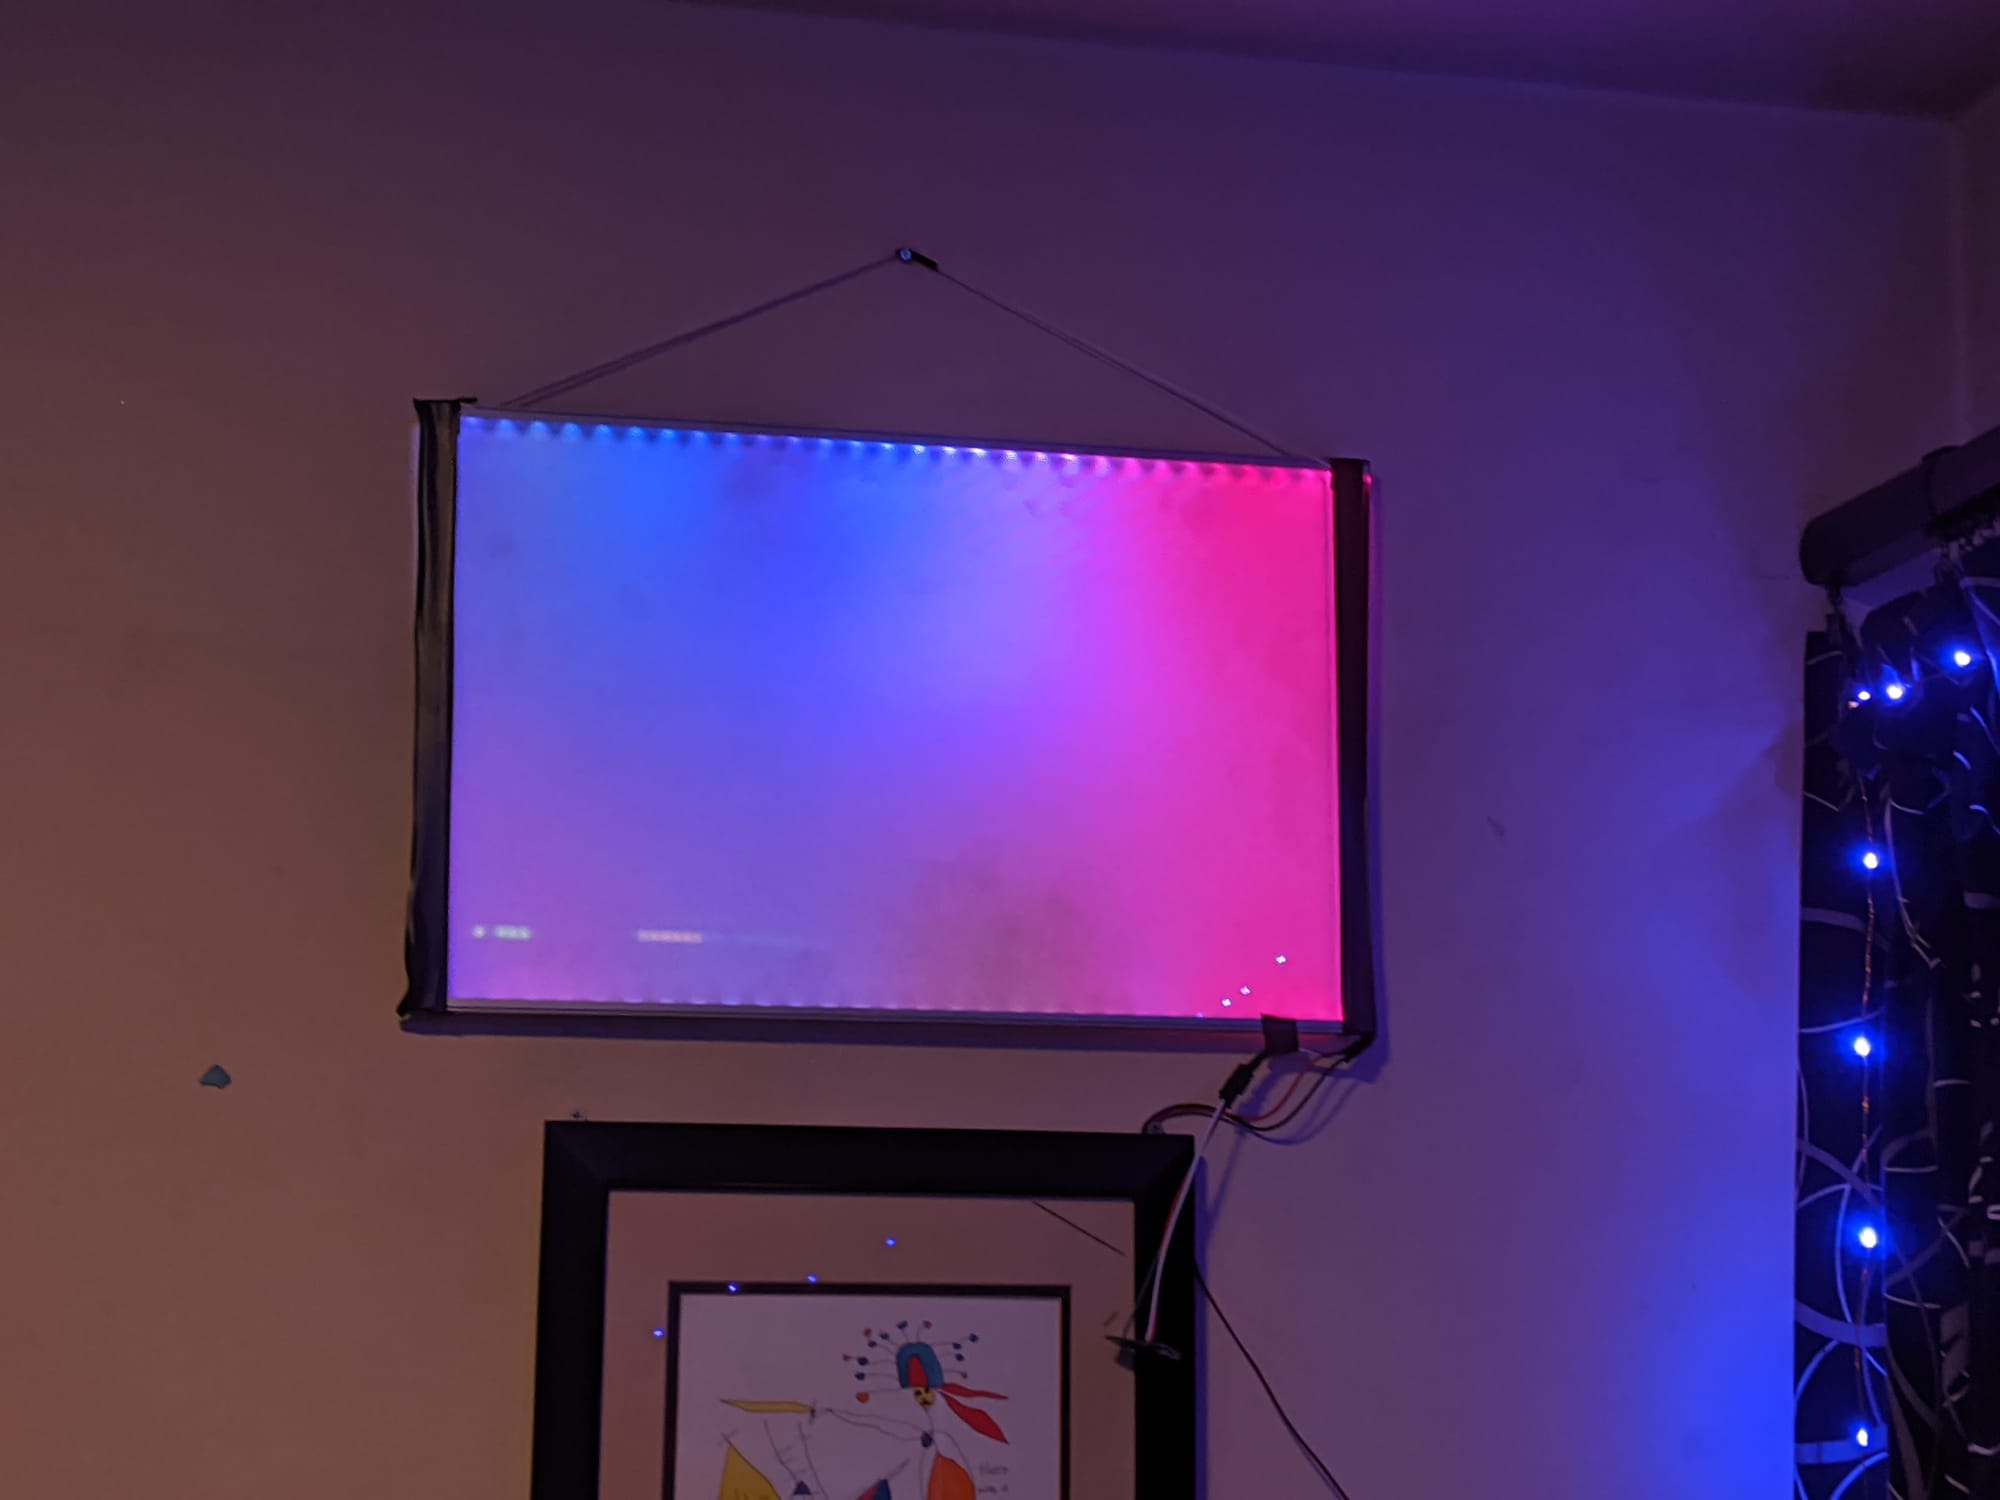
This is similar in design to the Endlighten panels above, but it uses a very different acrylic as the base piece. The diffuser from a 32" Sony Bravio. The TV was our media center TV for a few years until we upgraded to a 4k resolution panel around 2015 or so. After that, the Sony was stripped down to just the panel, diffuser, power supply, speakers, and input board. I stuffed all of that in our bathroom mirror, where it lived for a good number of years until it failed and was replaced by a similarly disassembled TV in 2019.
I don't know what most people do when a major piece of electronics fails, but for someone like me, a big LCD display with backlights, speakers, panel, several diffusers, etc? It was whale fall. The main backlight diffuser on this TV was an over-engineer piece of optical acrylic that seems to be designed to take light from one edge and illuminate the entire panel with it, while still allowing light to pass straight through front to back without distortion.
I experimented a bunch and found that edge lighting on two sides magnified this effect, but four disrupted it. So two sides it is. When it is off, it looks like a clear piece of glass or empty frame on the wall. When it is on, it creates some wonderful lighting gradients.
Poopy Panel
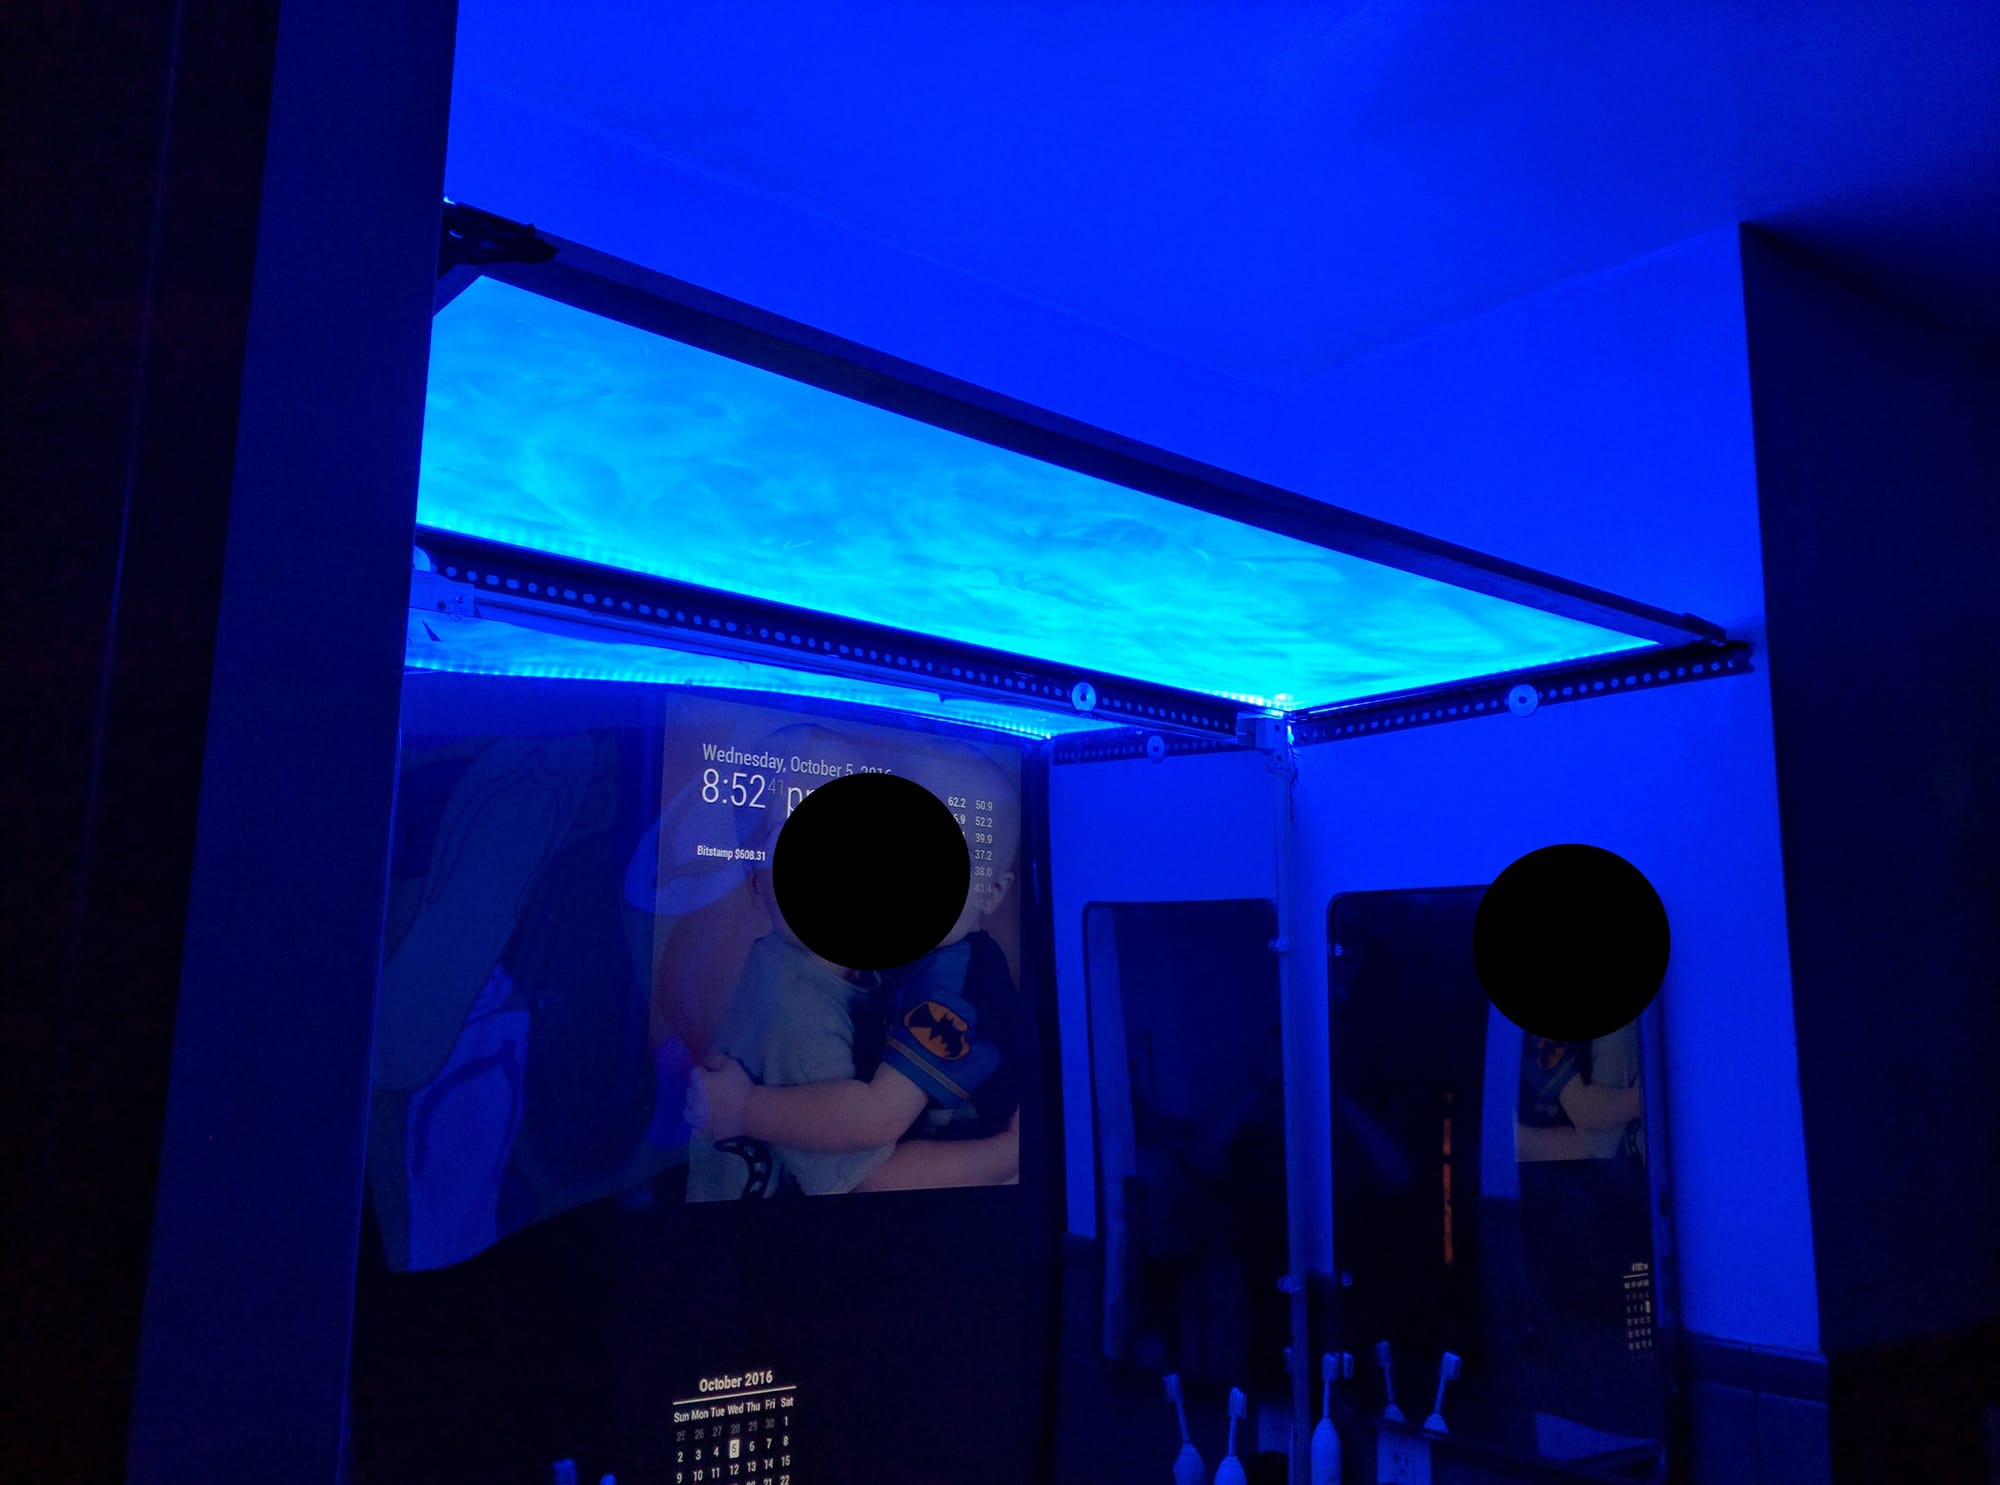
The mirror means I get a second one for free!
Continuing on my success with the Panel light, I wanted to try something similar in the bathroom above the mirror. While I had the wall torn apart to install the smart mirror, I built a rack above the mirror to mount another Endlighten panel. This one is basically identical to Panel, just a slightly different size to fit the space. Since the room is so small, it really fills the area with color.
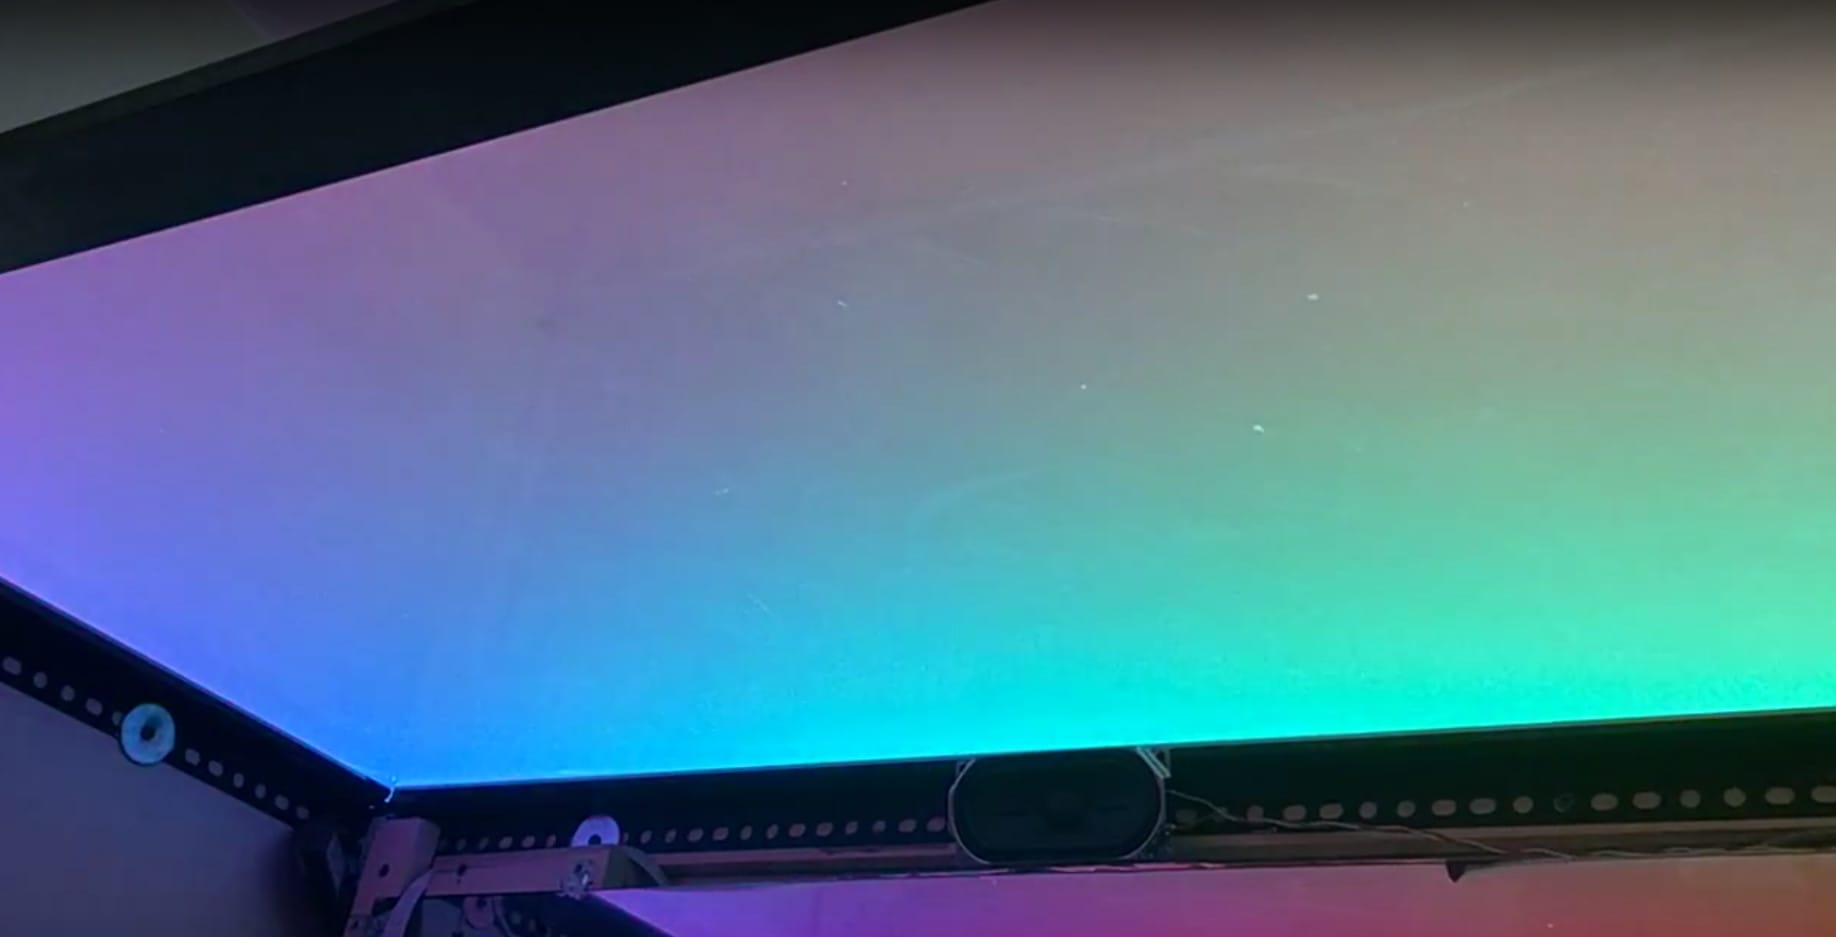
This one can really shade a wall. I set the rack at about 3/5 to the ceiling to create this nice color space above the light. There is never anything up there, so it just takes whatever color the panel is throwing at it.
Headboard
I had mentioned the table surface became our headboard. I had always wanted to try building an infinity mirror, and this seemed like a good opportunity. With Panel removed from the table, I had a nice big gap to fill with another piece of acrylic (this time, just standard plexiglass, nothing fancy). I popped in a strip of WS2812b leds, then added a 2-way mirror film (the sort you get as privacy screens to stop your creepy neighbor from watching you shower), applied so the light passed out, but not in. Then another piece of acrylic on top of that to finish the sandwich.
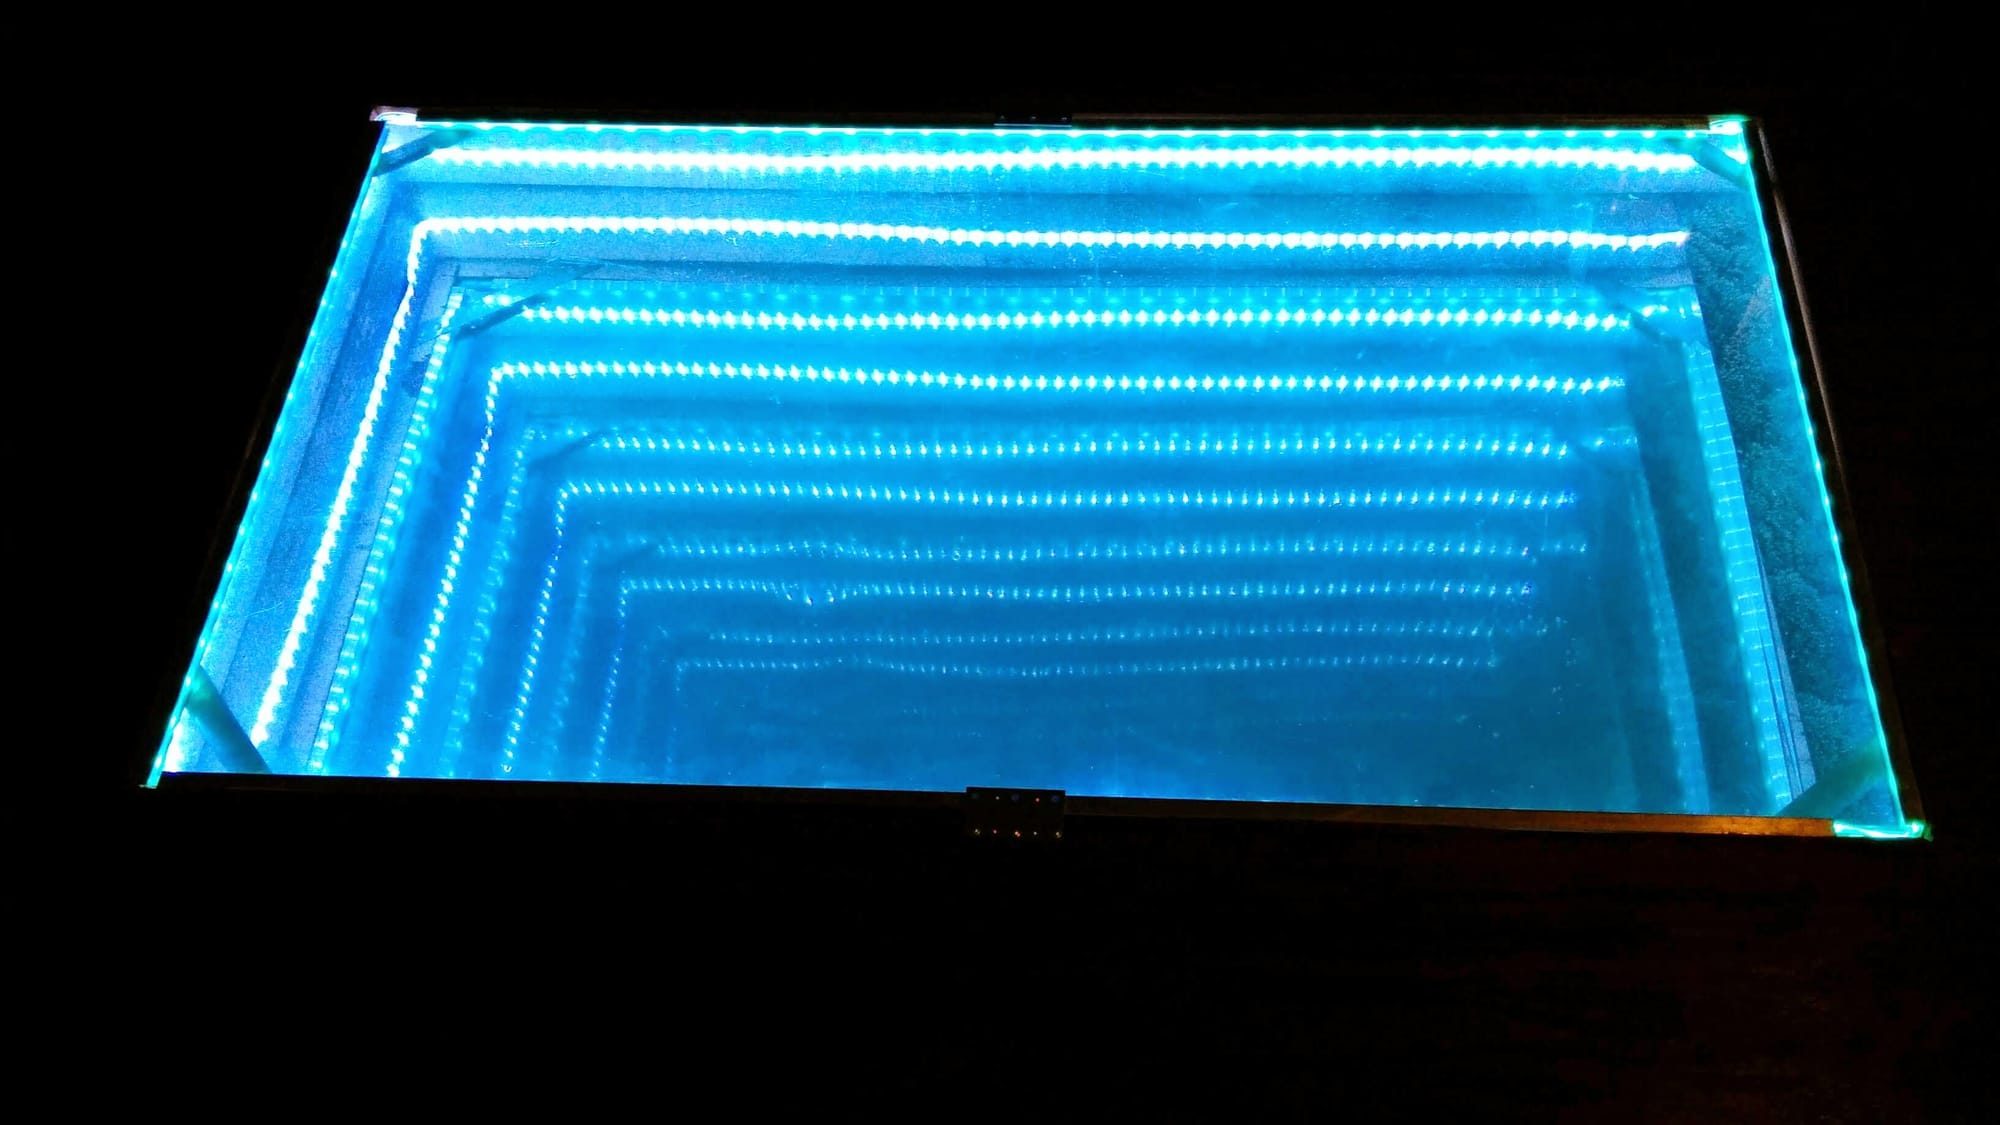
Satisfied with my results, I added a new microcontroller, and installed it vertically on the wall behind our bed. It turned out all right.
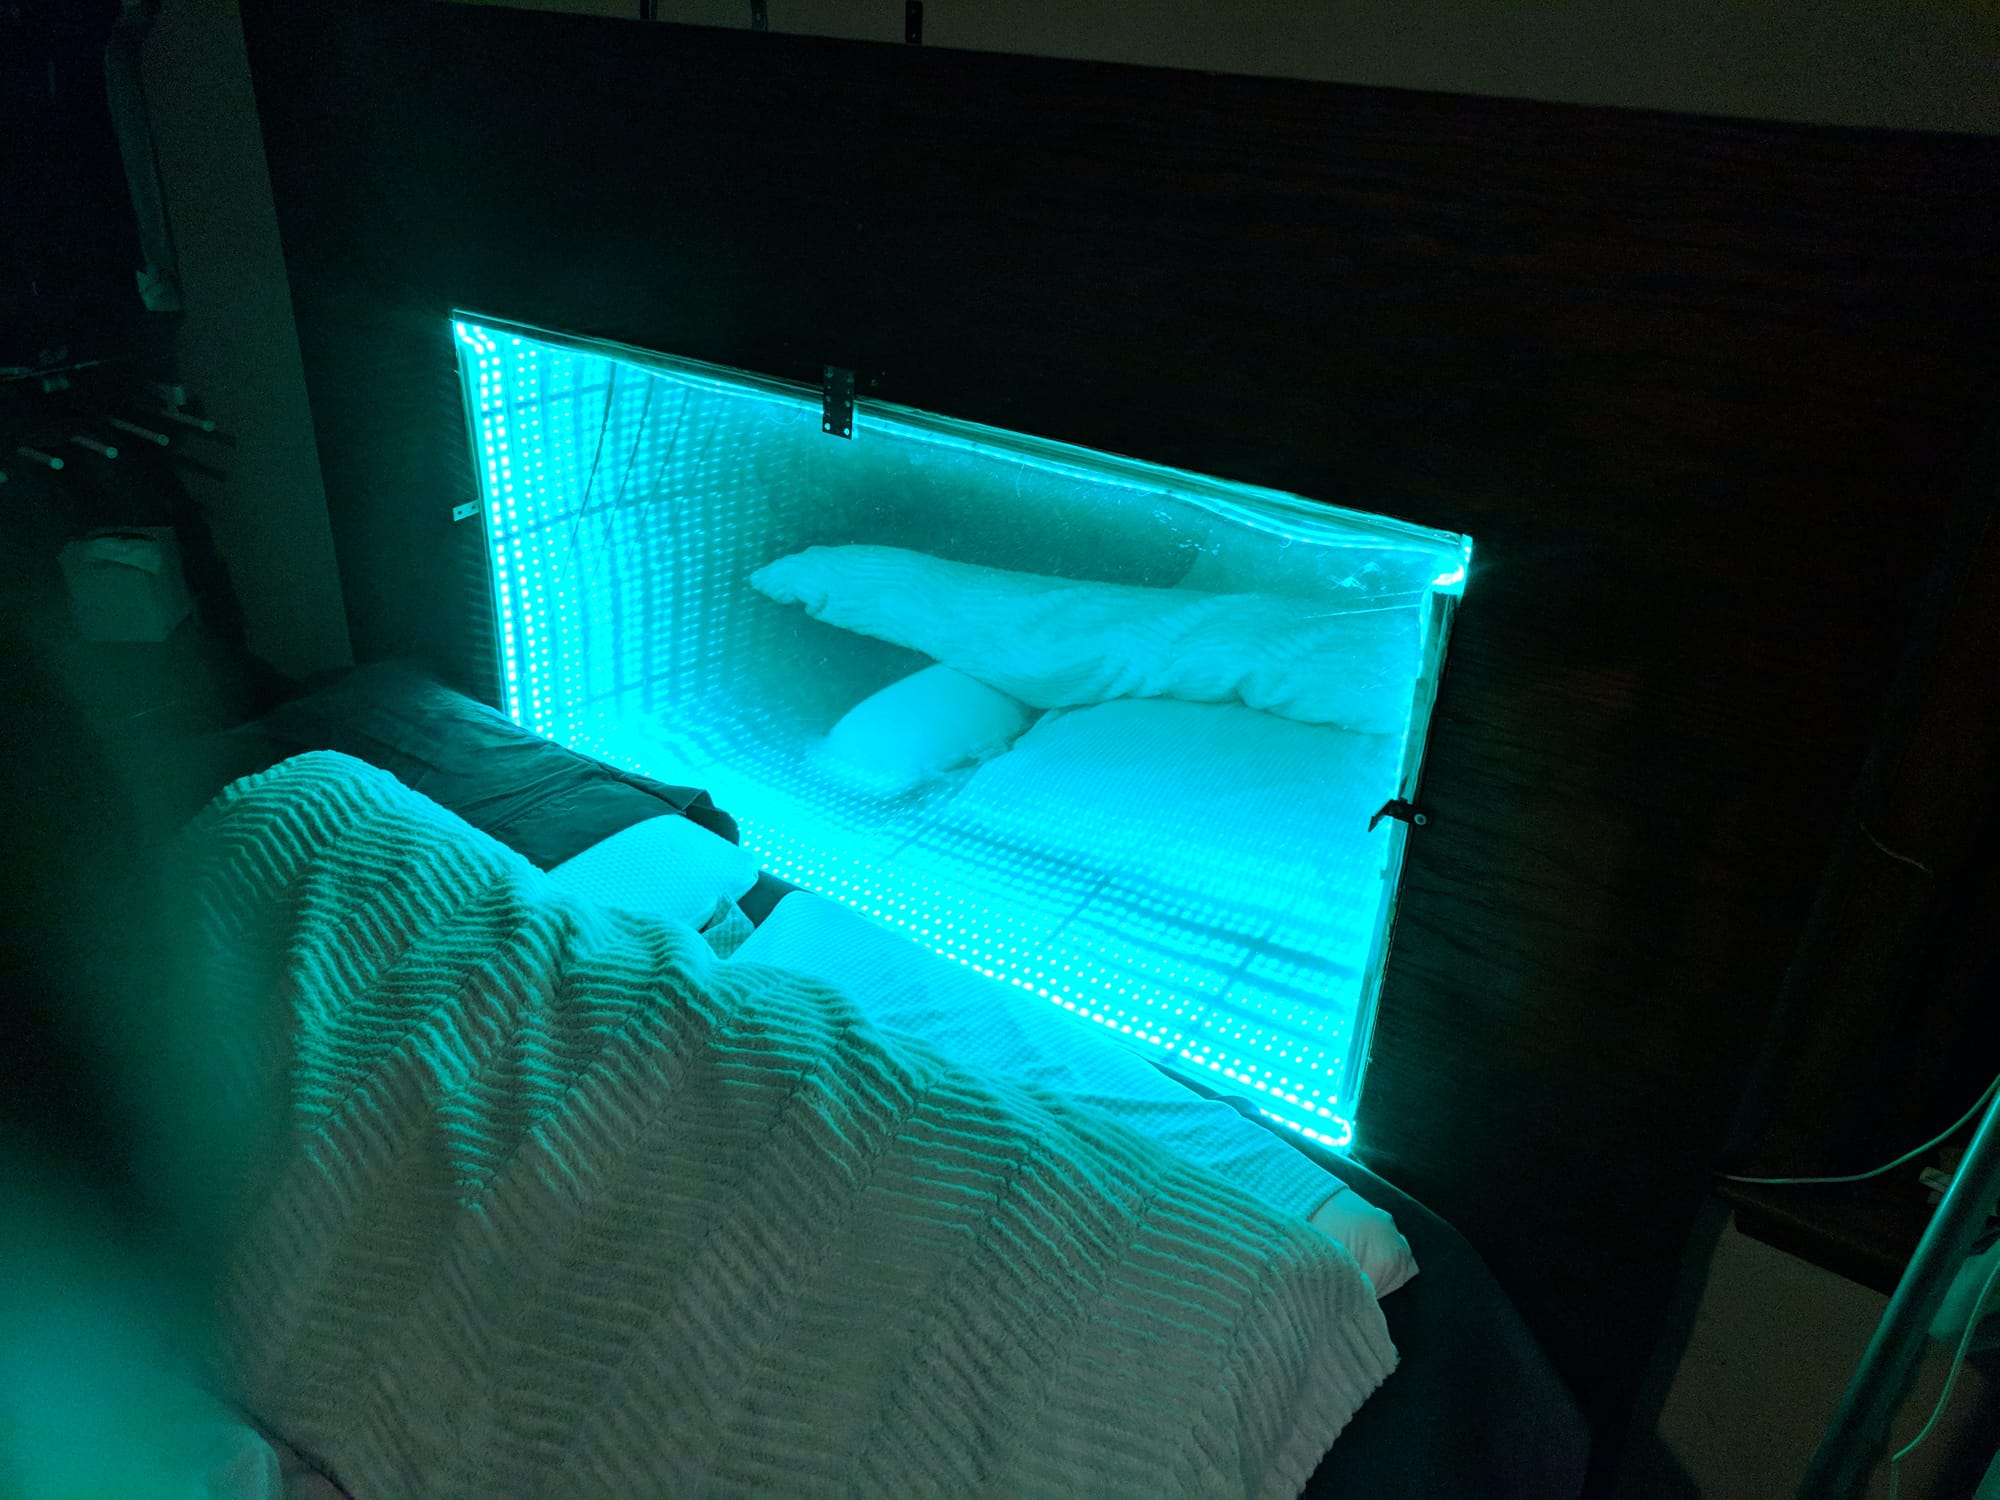
The mirror isn't good enough to do your makeup in or anything, but it enhances the light effect really well. Creates just enough to read by (if your reading device doesn't already emit its own light).
These are mini versions of the previous panels, each with their own style.
HD Panel, LD Panel, and Panel Five
These three are all made with the same basic parts. Only difference is the number of LEDs. I was experimenting with different LED densities, layering acrylic, mixing colors, that sort of thing. HD Panel was 144 leds/m, LD Panel was 30 leds/m, and Panel Five 60 leds/m.
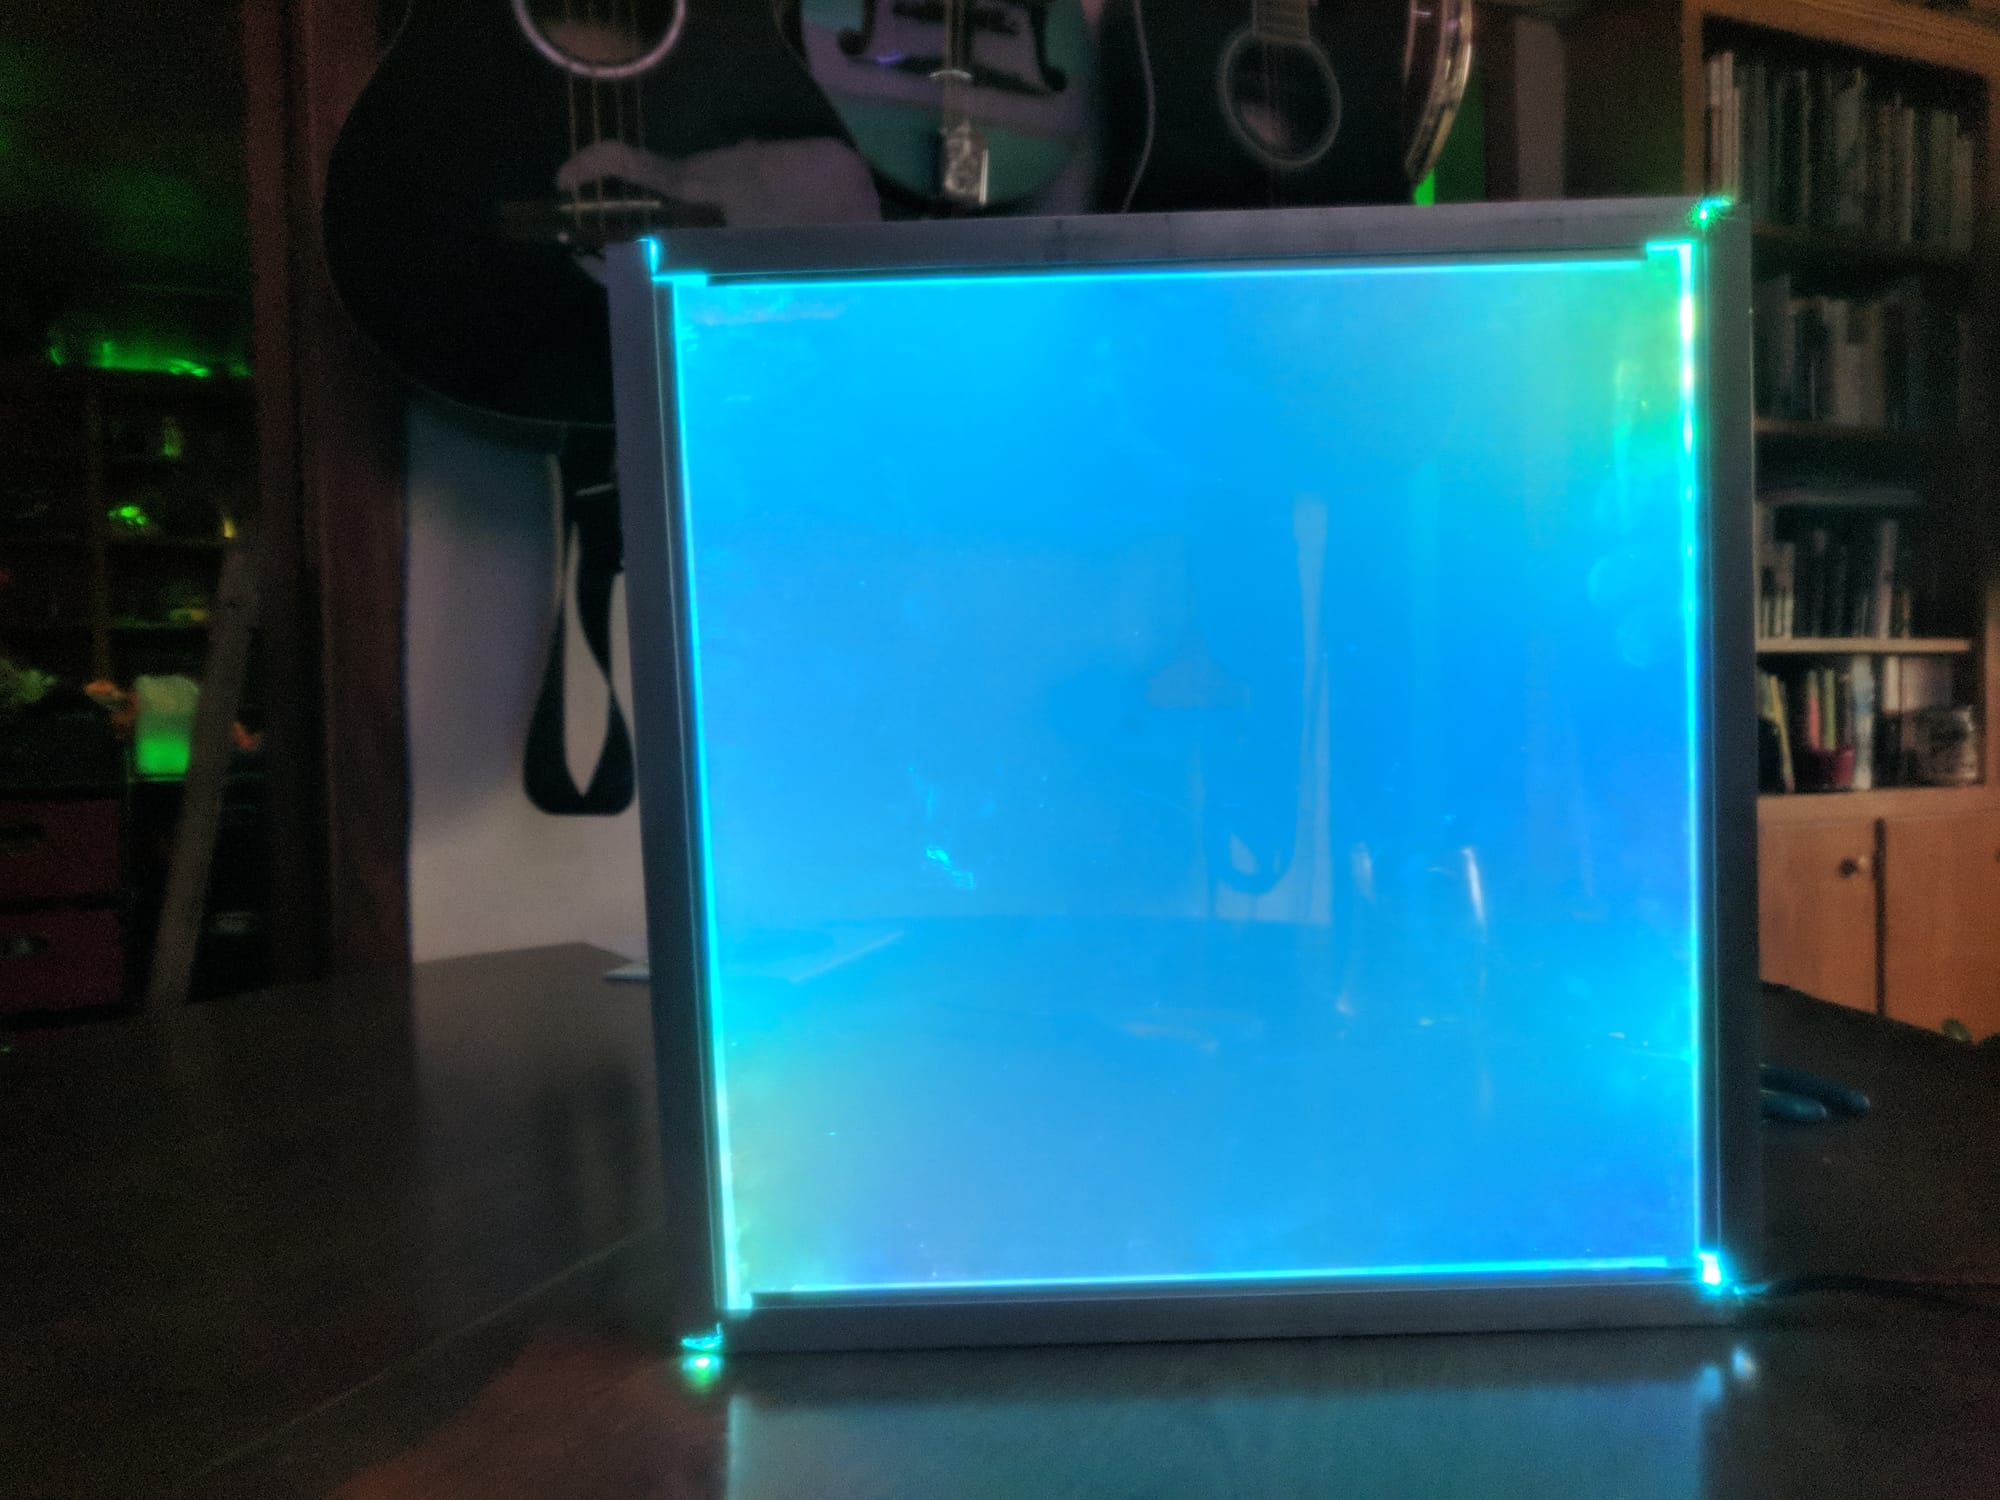
They each have 1/2" aluminium channel around 1' square endlighten acrylic, a strip of WS2812b leds, and a power supply. They channel acts both as a bezel and also a heatsink.
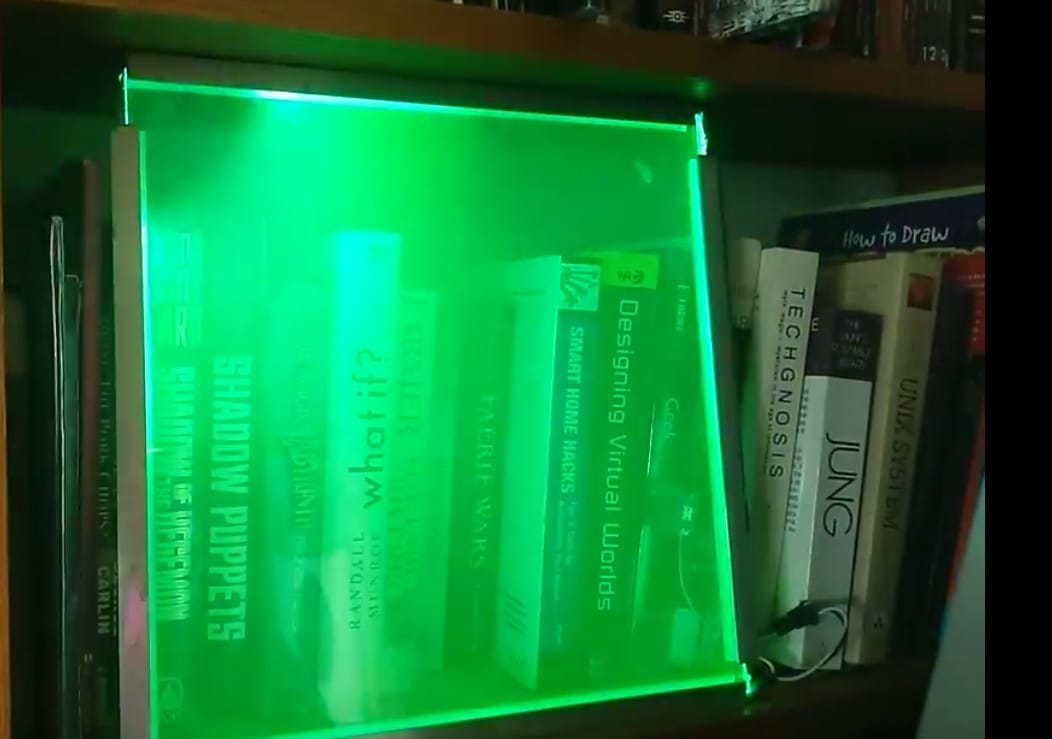
They could be opaque with color if all leds were on and a complimentary shade, or they could be translucent if only a portion were on, or the colors blended to white.
These lived on my book shelf in our living room as accent lights for a decade or so. Two of them are still in service.
LD Panel
Panel 5 and a brief look at Bendy
This article is part of a series on LED Art as I attempt to document all of the different LED projects I have built over the years.
More will be added as time goes on. The list of currently available articles can be found here: https://dzw.zentormey.com/tag/leds/
Member discussion: