
Bendy (retired)
Bendy was just a flexible matrix panel and a piece of diffuser plastic scavenged from an old LCD. I flexed the plastic into a curve and tucked it between some books. The spacing in front of the panel is sufficient to give a nice effect.
Not bad for just setting it on a shelf.
I didn't keep this one around for very long, it was just a proof of concept. Some of the effects it ran were kind of neat, but I would go on to do better things with the hardware.
Clocks
An obvious application for these became clear when I figured out how to render fonts on them.
Why, how do you test your LEDs?
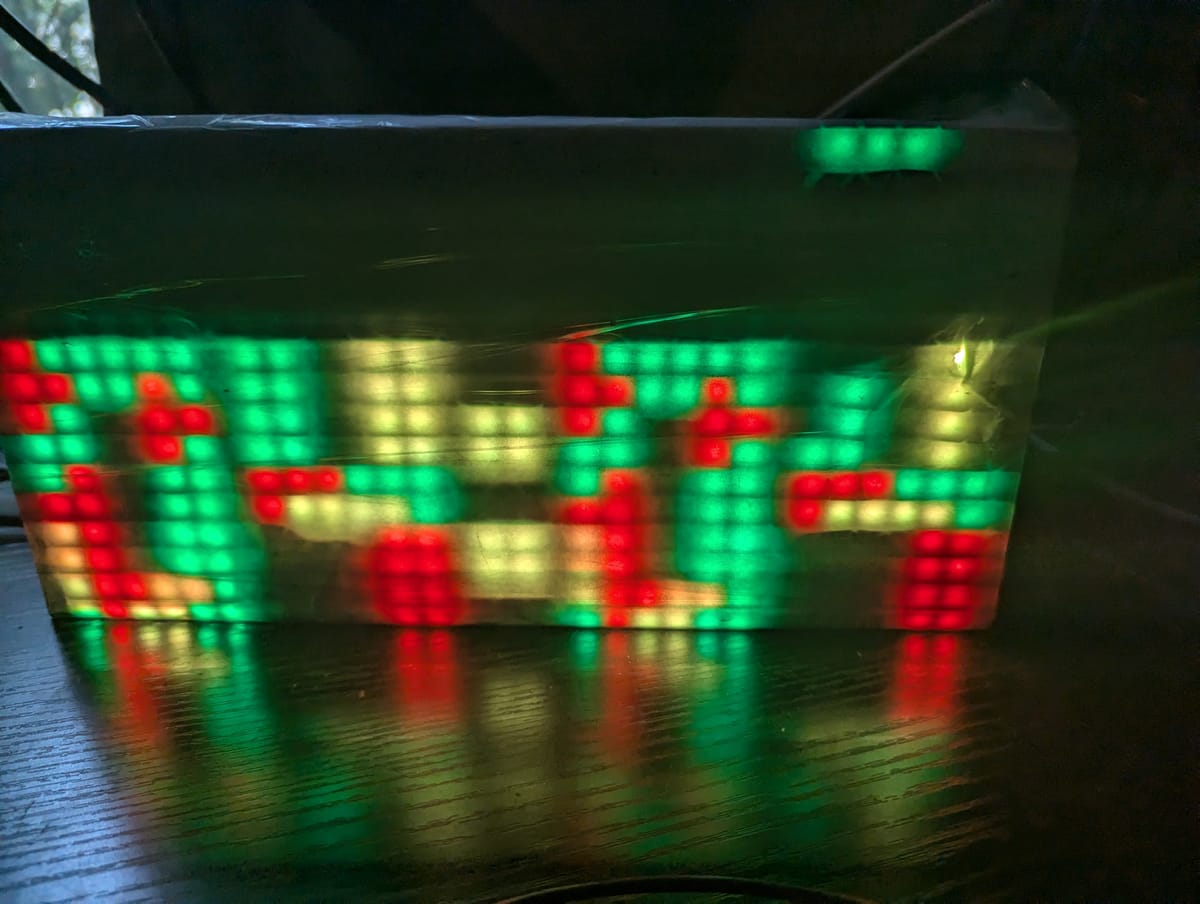
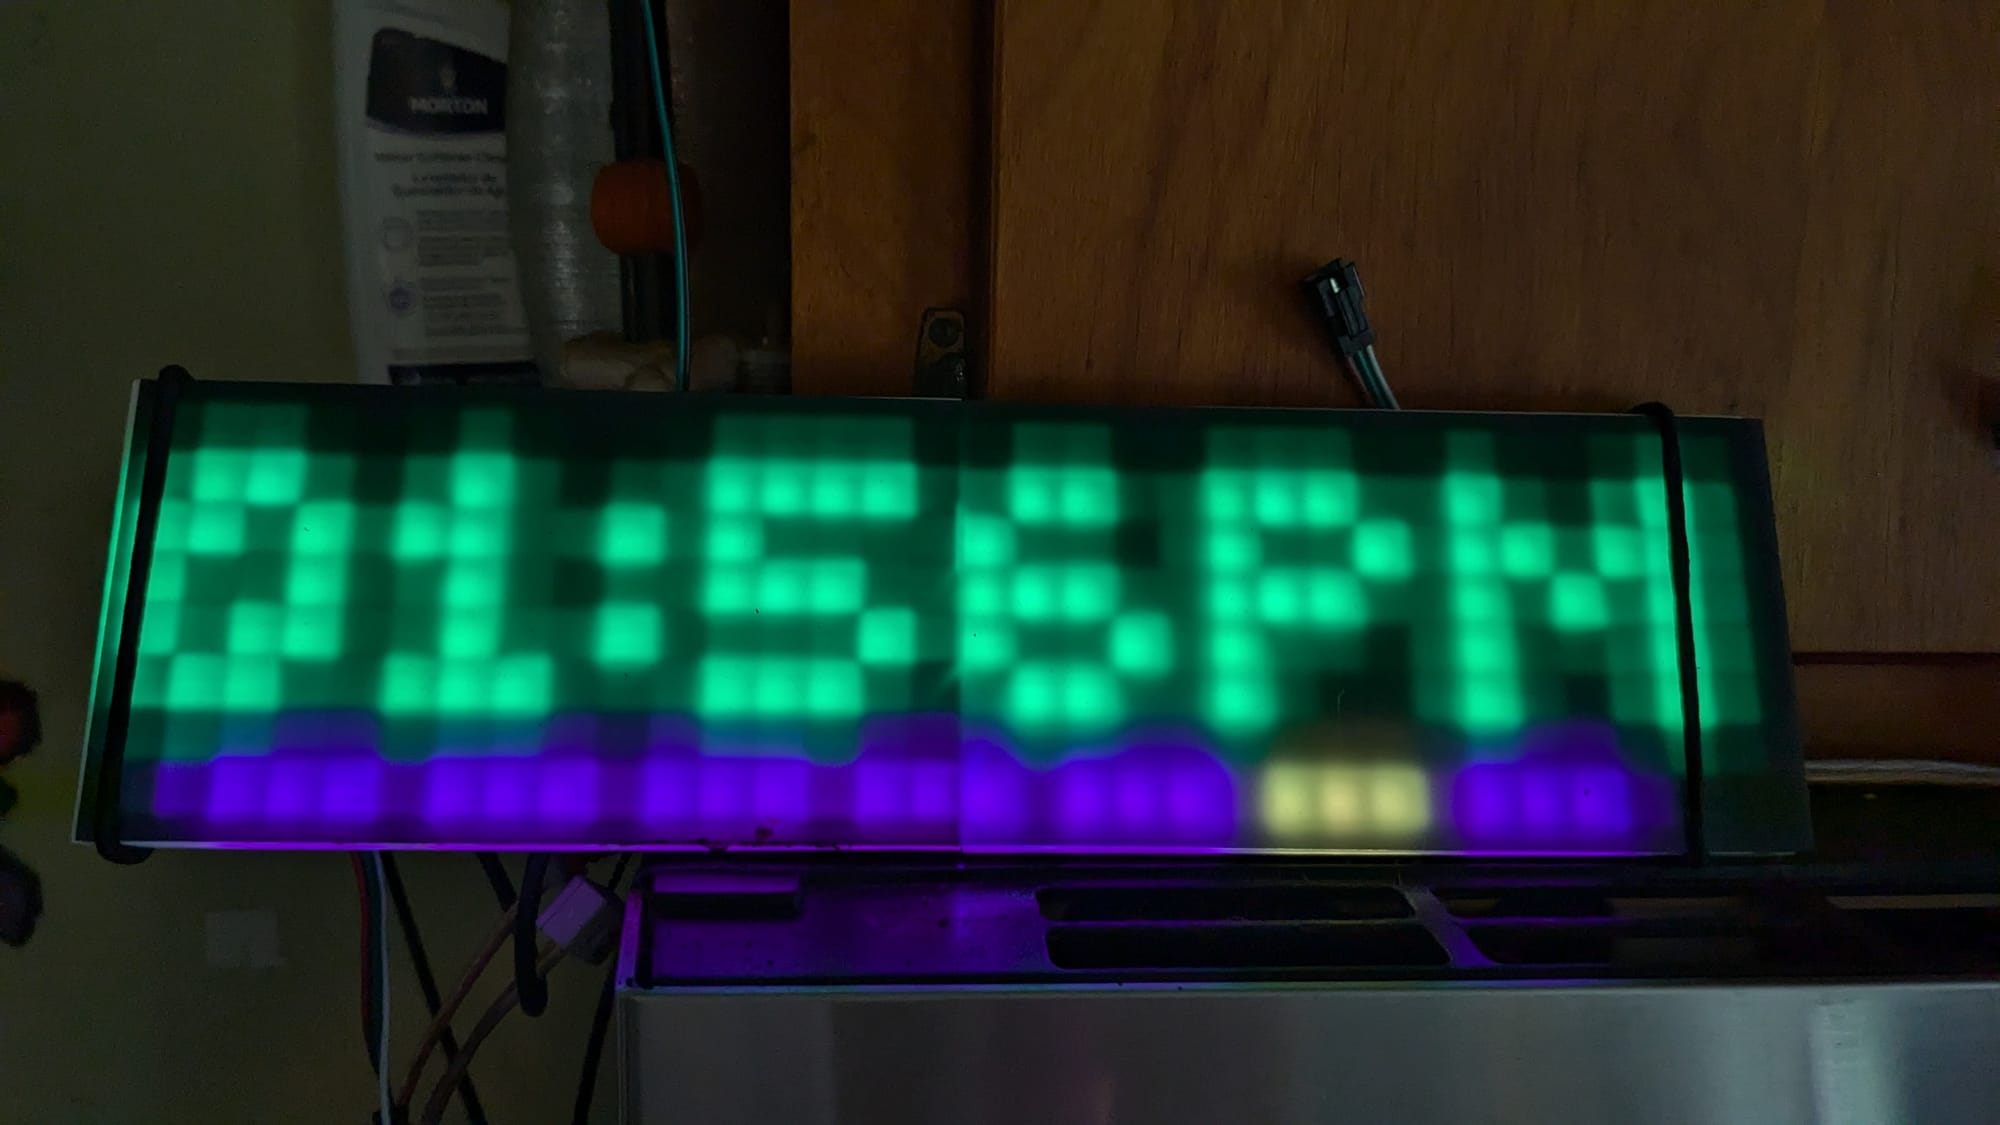
That out of the way, I split the marque up into pieces and turned each of them into a clock. I've tinkered with the firmware on these quite a bit over the years.
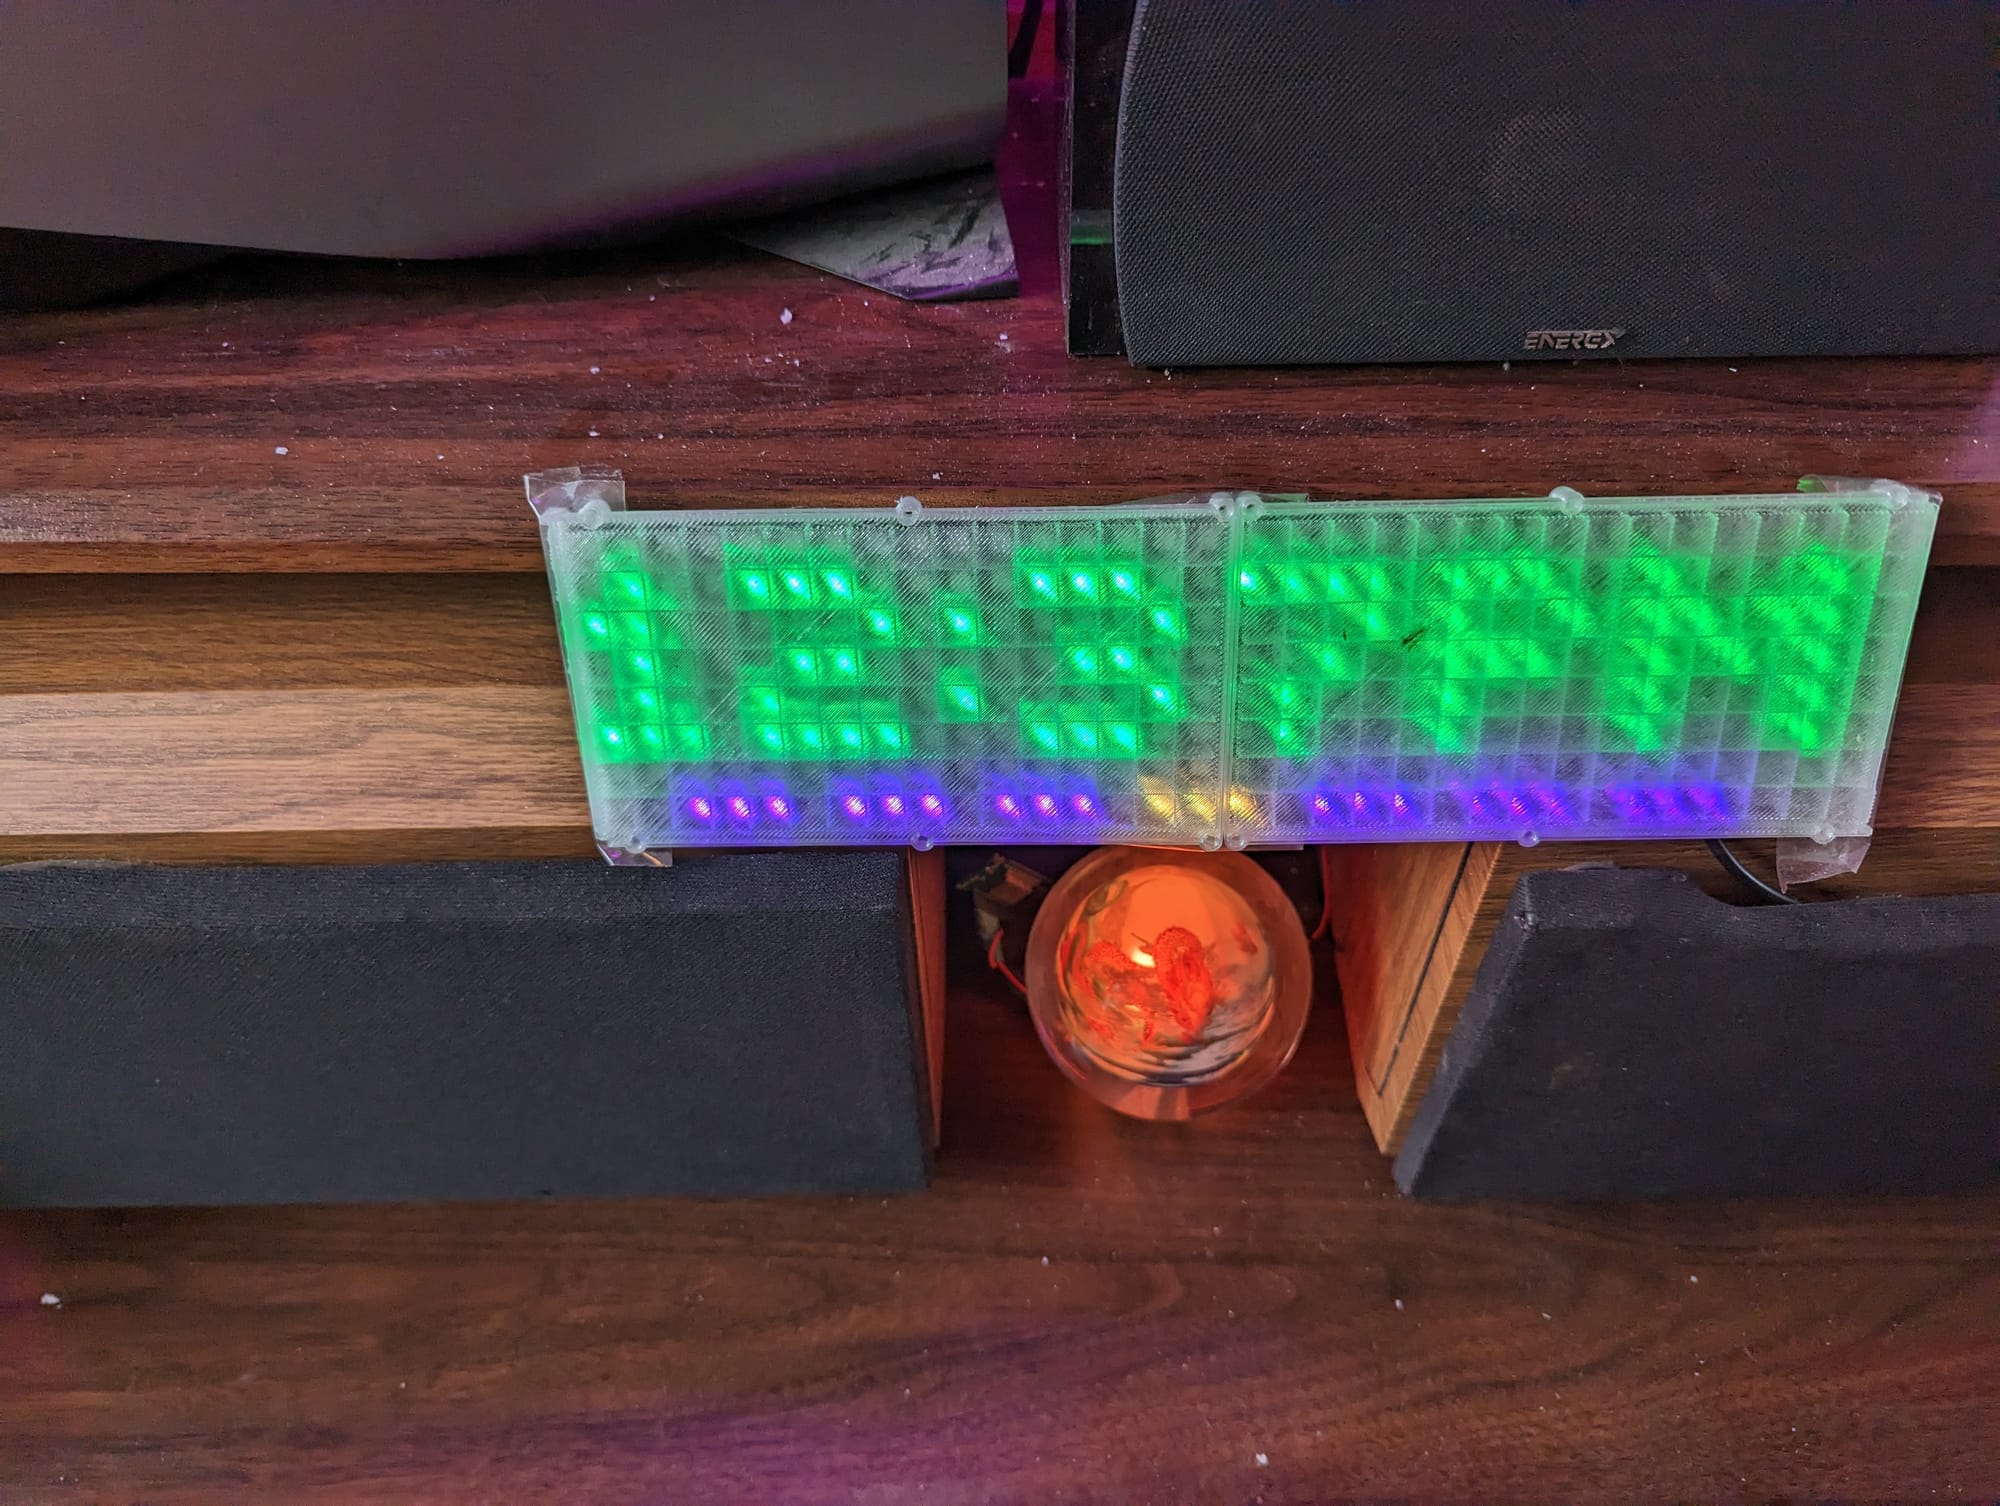
The current feature set is something like this:
- Displays the current time for four seconds
- Displays today's date for two seconds
- Indicates the day of the week passively while the above screens are active
- Once per minute, display the current temperature for 4 seconds
- Once per minute, display today's high/low temperatures for 4 seconds
Then, the following can happen via trigger:
- Display time remaining on kitchen timer
- Flash a warning if we head to the bedroom for the evening and any of the doors or garage doors are open.
- Flashes a warning when any of the exterior doors open or close
- If a family member has left work and is heading home, flash a warning
- If a family member is currently at one of several stores, flash a warning
- Display the title of any currently playing media (currently limited to music, movies, TV shows, steam games, and emulated games) in the current room when it begins playing
- Flashes a warning if a squirrel or deer is recognized in the back yard by the deck
- Displays reminders of any active events that day (pulling from home assistant)
- Sends a good morning or good evening message around sunrise / sunset when the house changes modes
- Provides a bluetooth proxy to Home Assistant for each room they are installed in (which is all of them, save for the bathrooms).
Additionally, they automatically adjust their brightness setting throughout the day so they are visible in sunlight and not blinding at night.
They also have temperature, motion, and luminosity sensors connected which feed into home assistant.
These were at one point a mishmash. Each one was built a little differently. A couple years ago, I got sick of having to update each one by hand and I standardized them. They all have identical hardware and software now, and just ask where they are installed when they boot up. Additionally, I picked out sensors that were 5v tolerant so I didn't have to step down the voltage.
Each one is built with the following:
- ESP32
- Flexible WS2812b matrix (8x32)
- Dallas one-wire DS18B20 temp sensor
- Aliexpress PIR sensor with motion and light outputs
- 3d Printed snap fit matrix stencil (this is a gridwork that snaps around the matrix to separate the lights from each other, so they appear as pixels)
- 13" x 3-1/2" Black LED Acrylic for the faceplate
- Two black elastic hair bands to attach the acrylic
- USB cable and 5v power supply
These guys provide a basic sensor package to home assistant for each room (bluetooth, occupancy, motion, temperature, illumination) as well as providing sensor output passively to the household.
They are one of those things that you don't notice at all when they are working well, but you REALLY notice when they are not.
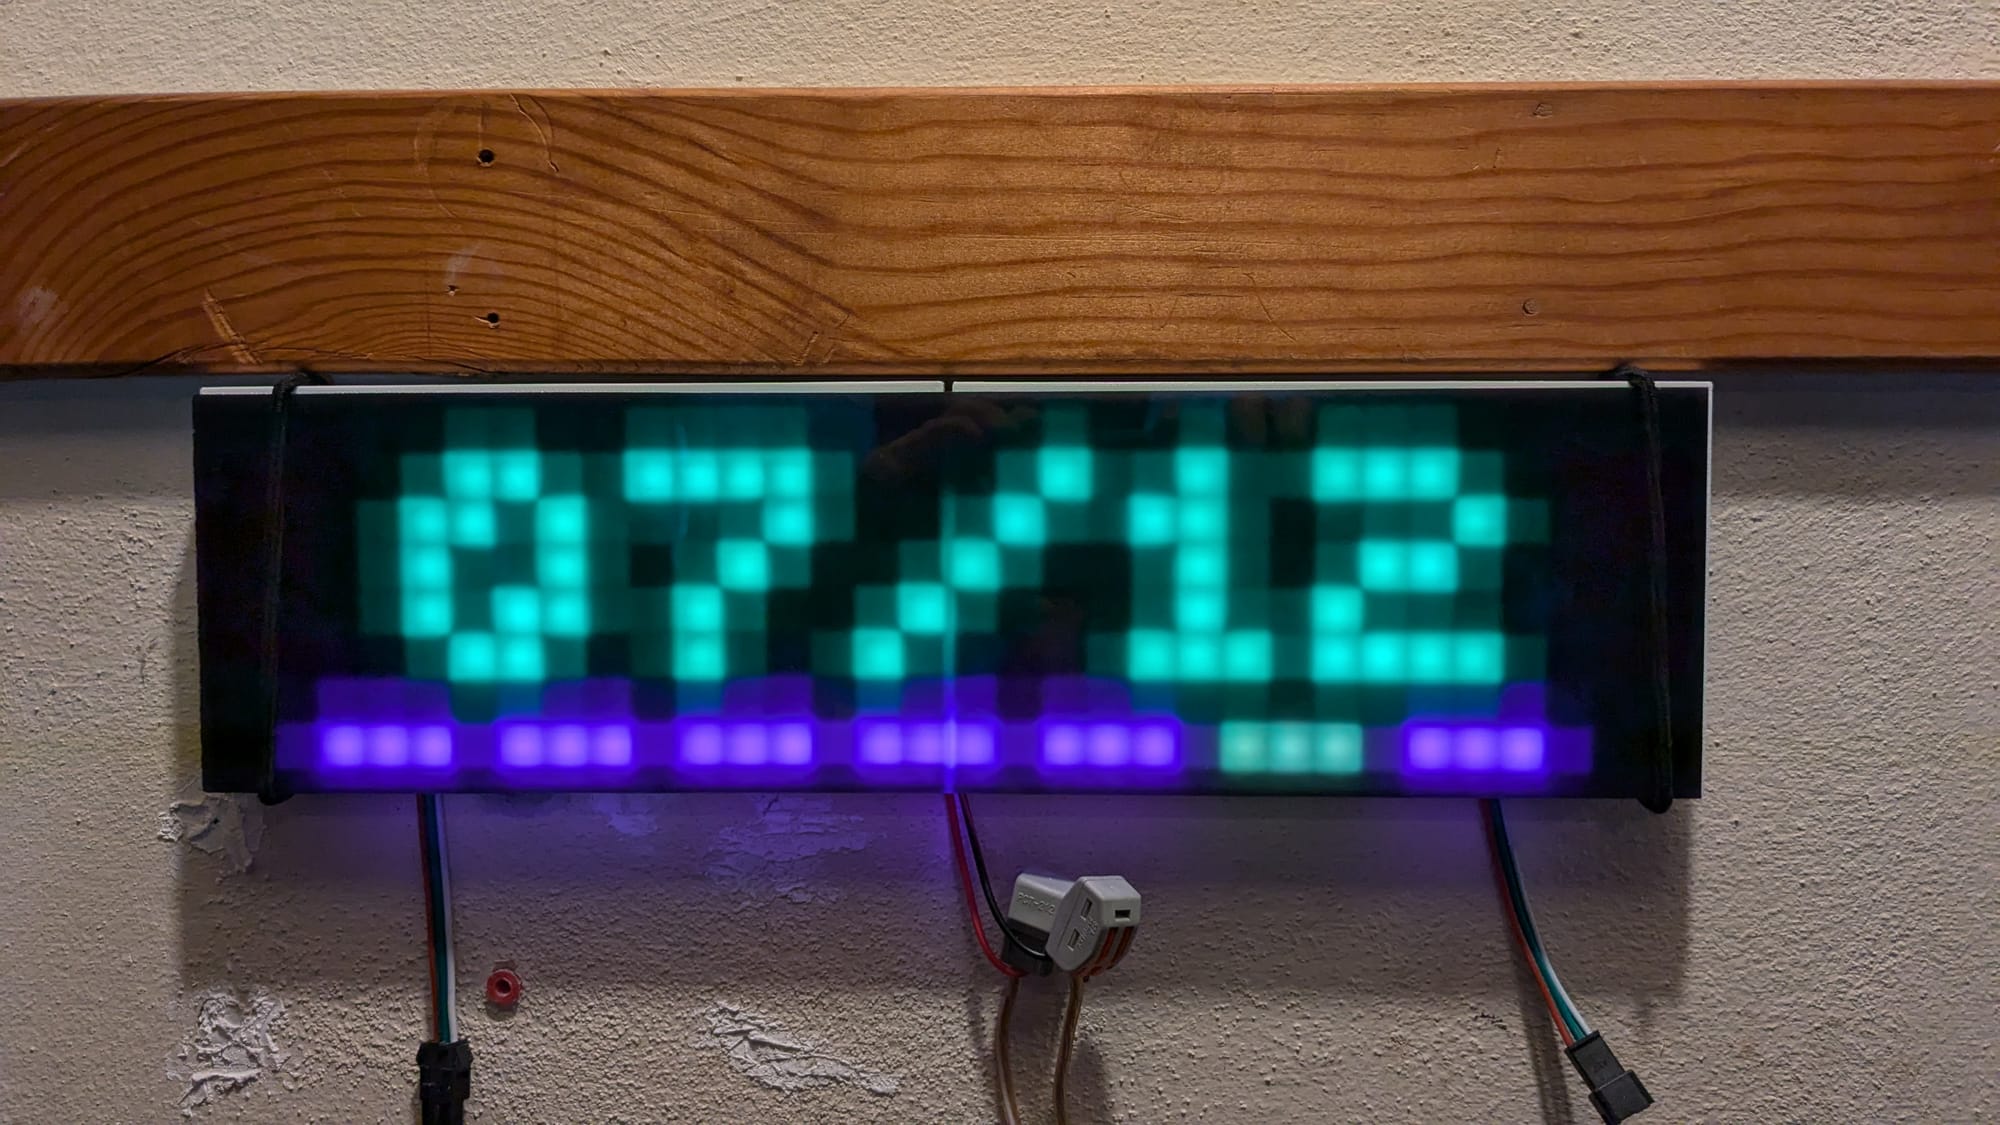
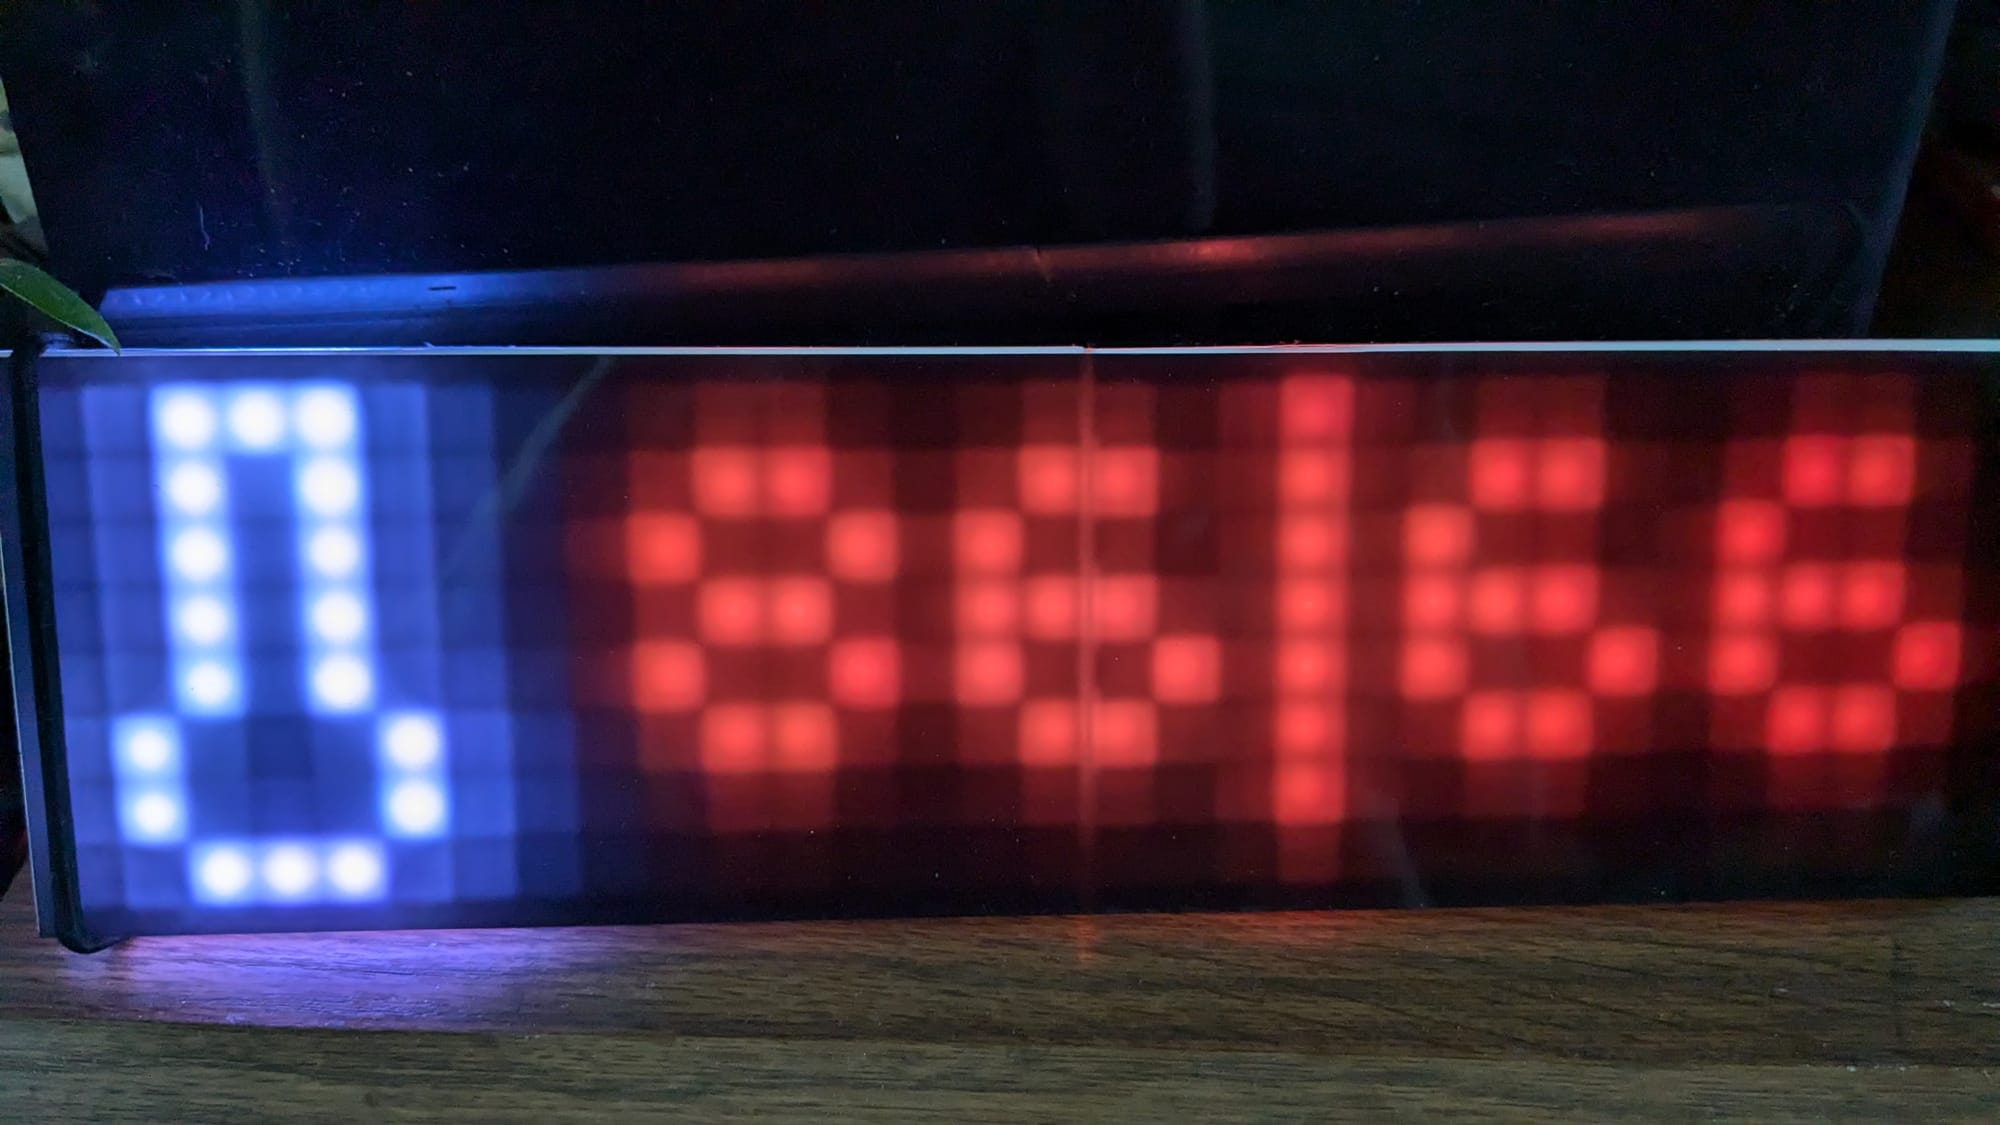
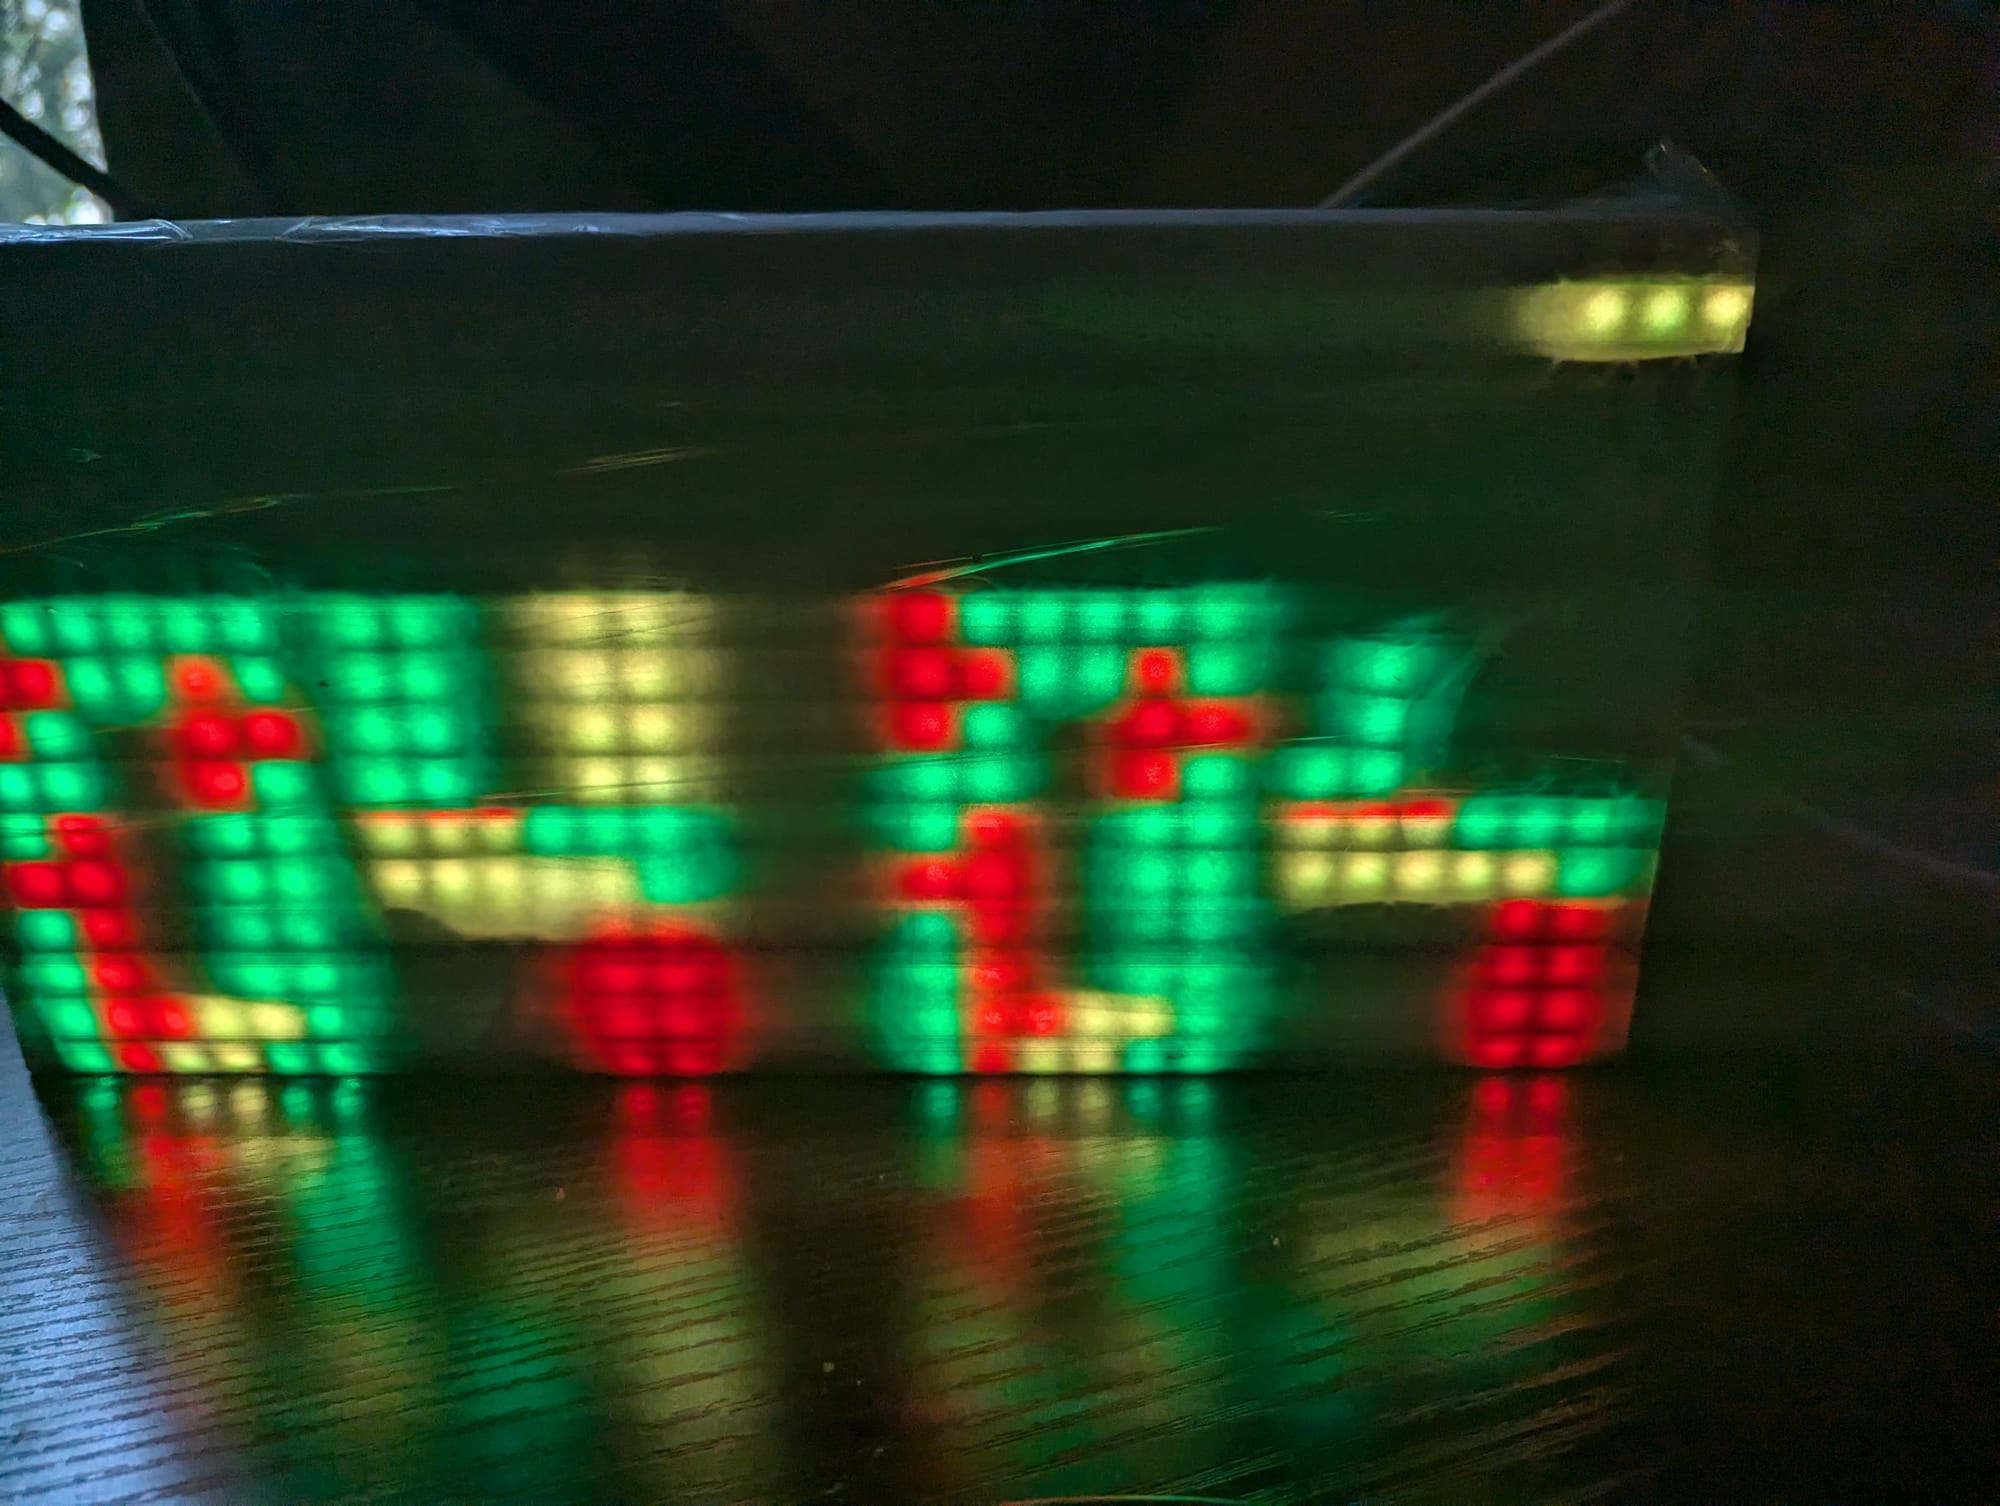
A few examples of screens these clocks have. They can also scroll text when needed.
Matrix
Behold, as I discover the SECOND DIMENSION
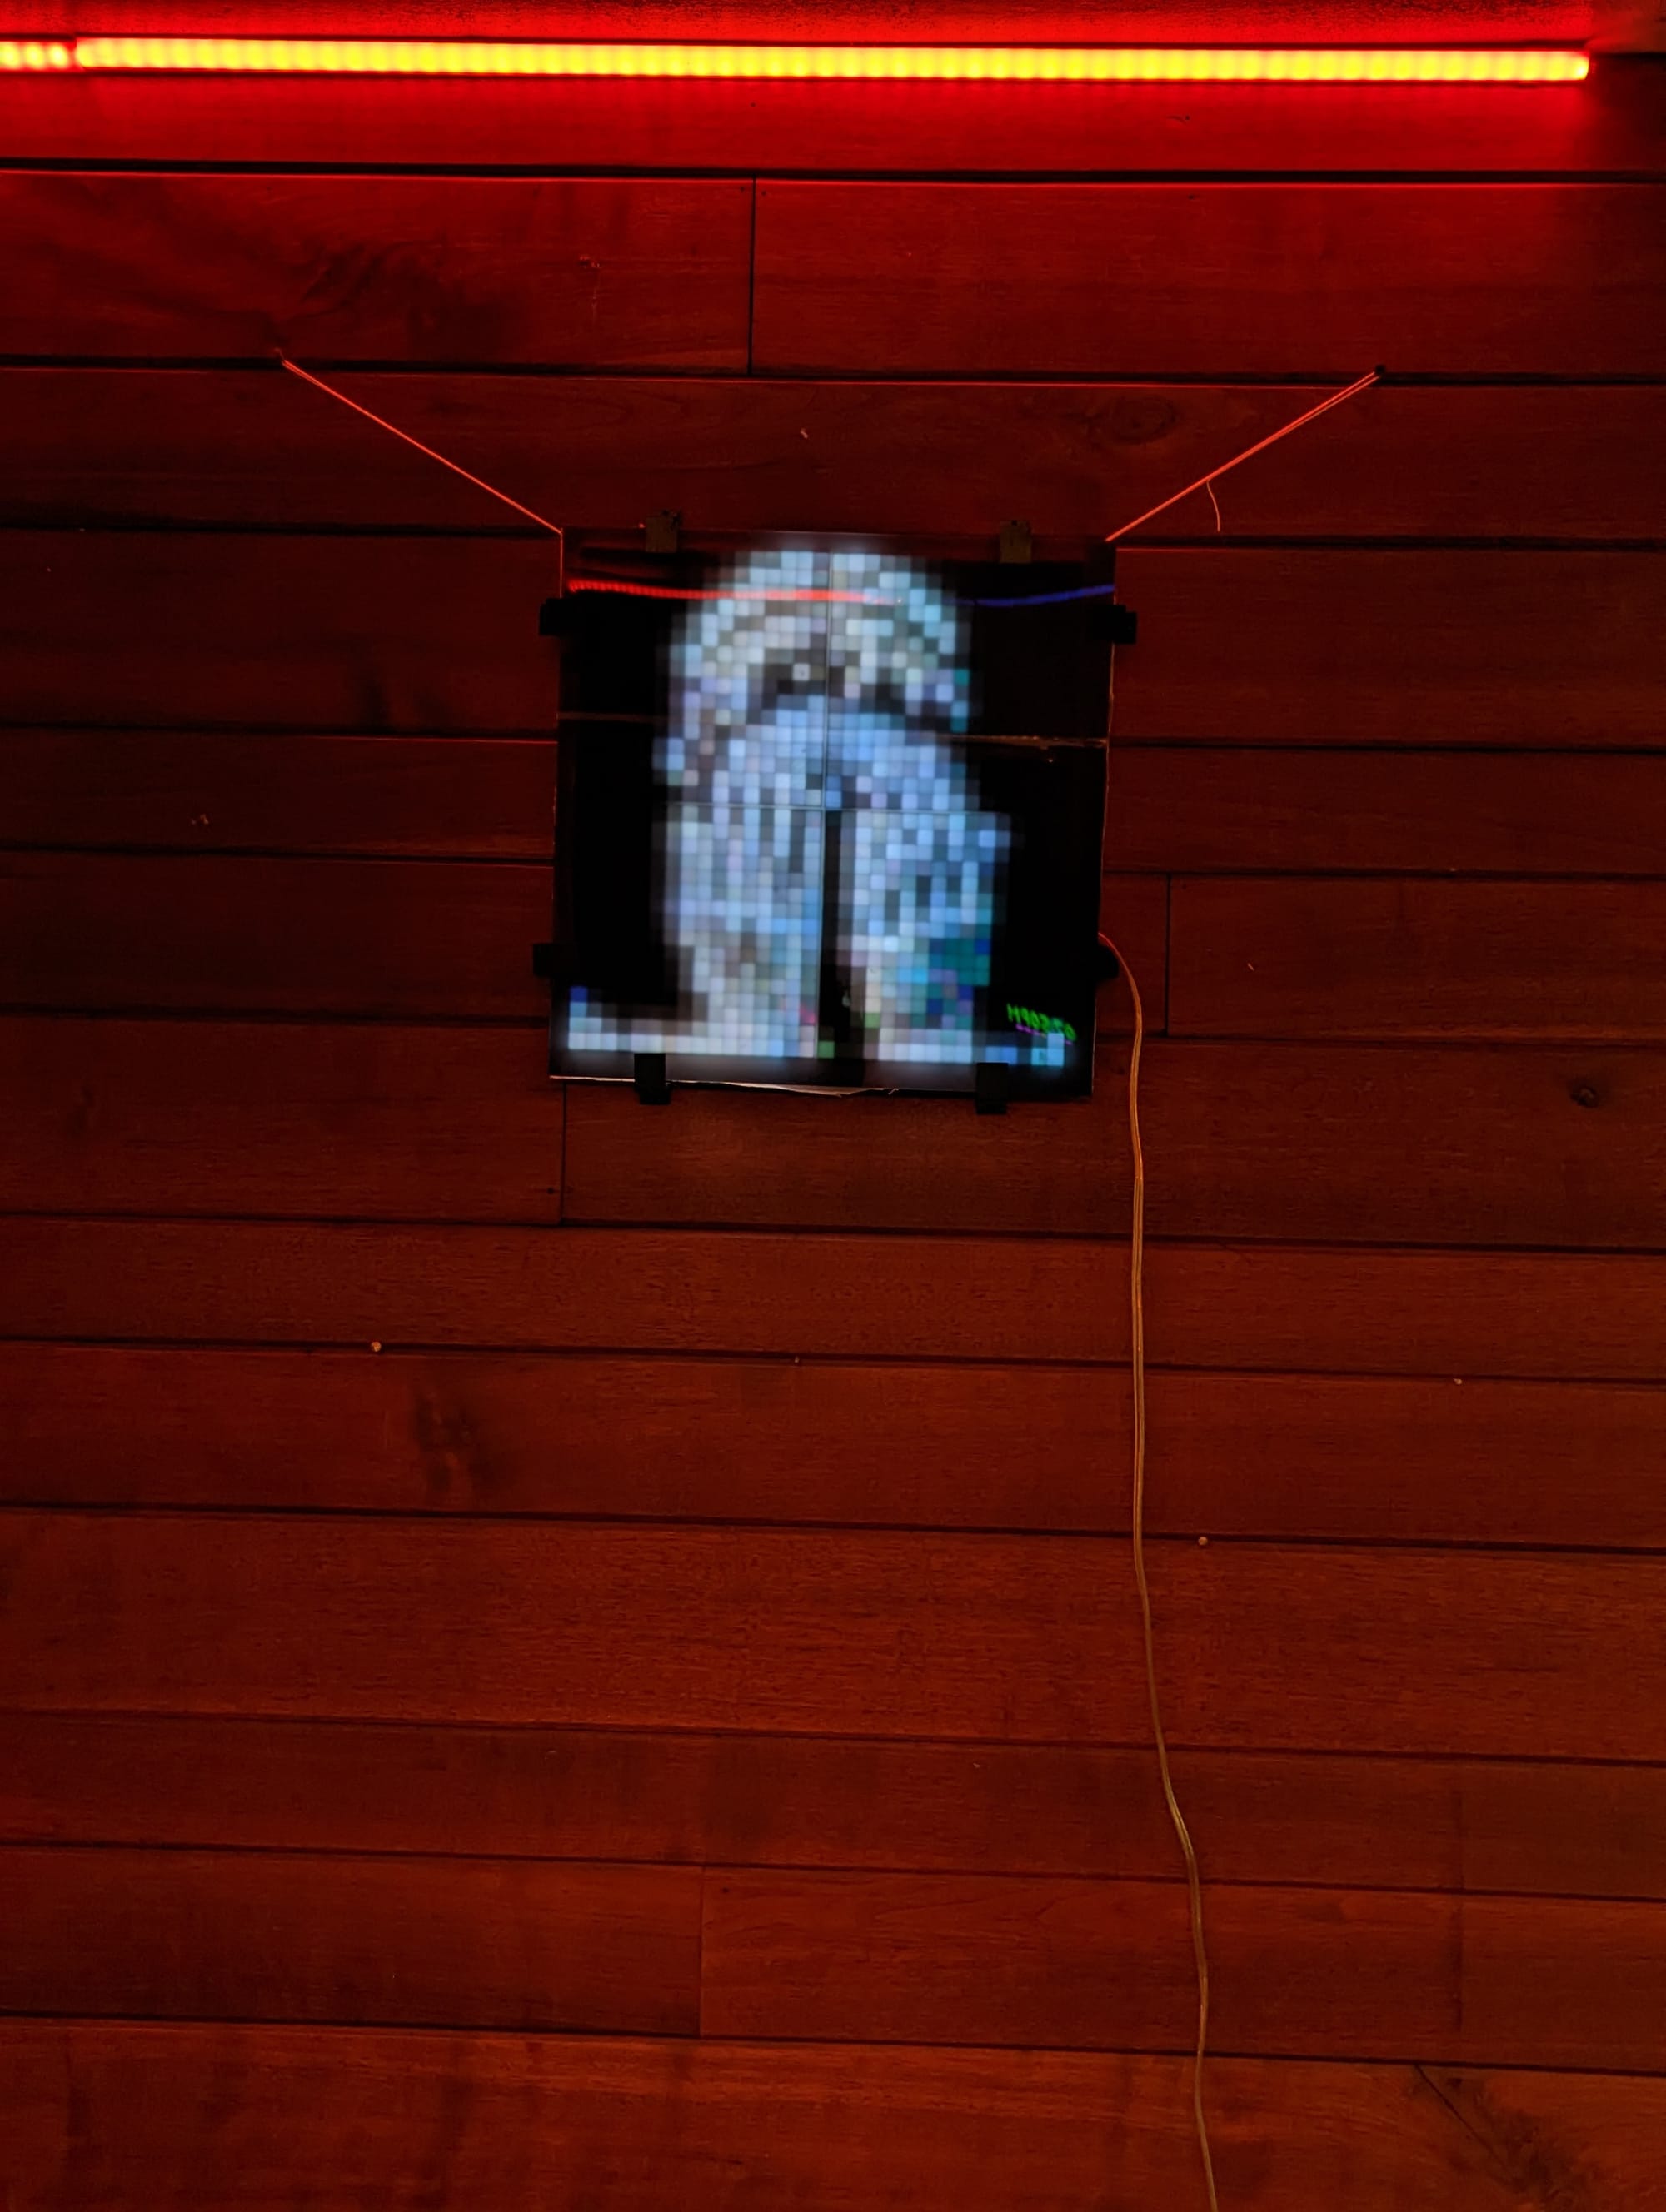
This was my first attempt at making a 2d matrix art board. This one is 4 of the same 8x32 panels I used for the clocks, with a similar grid diffuser to give it a pixelated look.
I did two versions of this (the other is listed separately, below), one with the pixelated diffuser and one without. They run completely different effect stacks which take advantage of each of their designs.
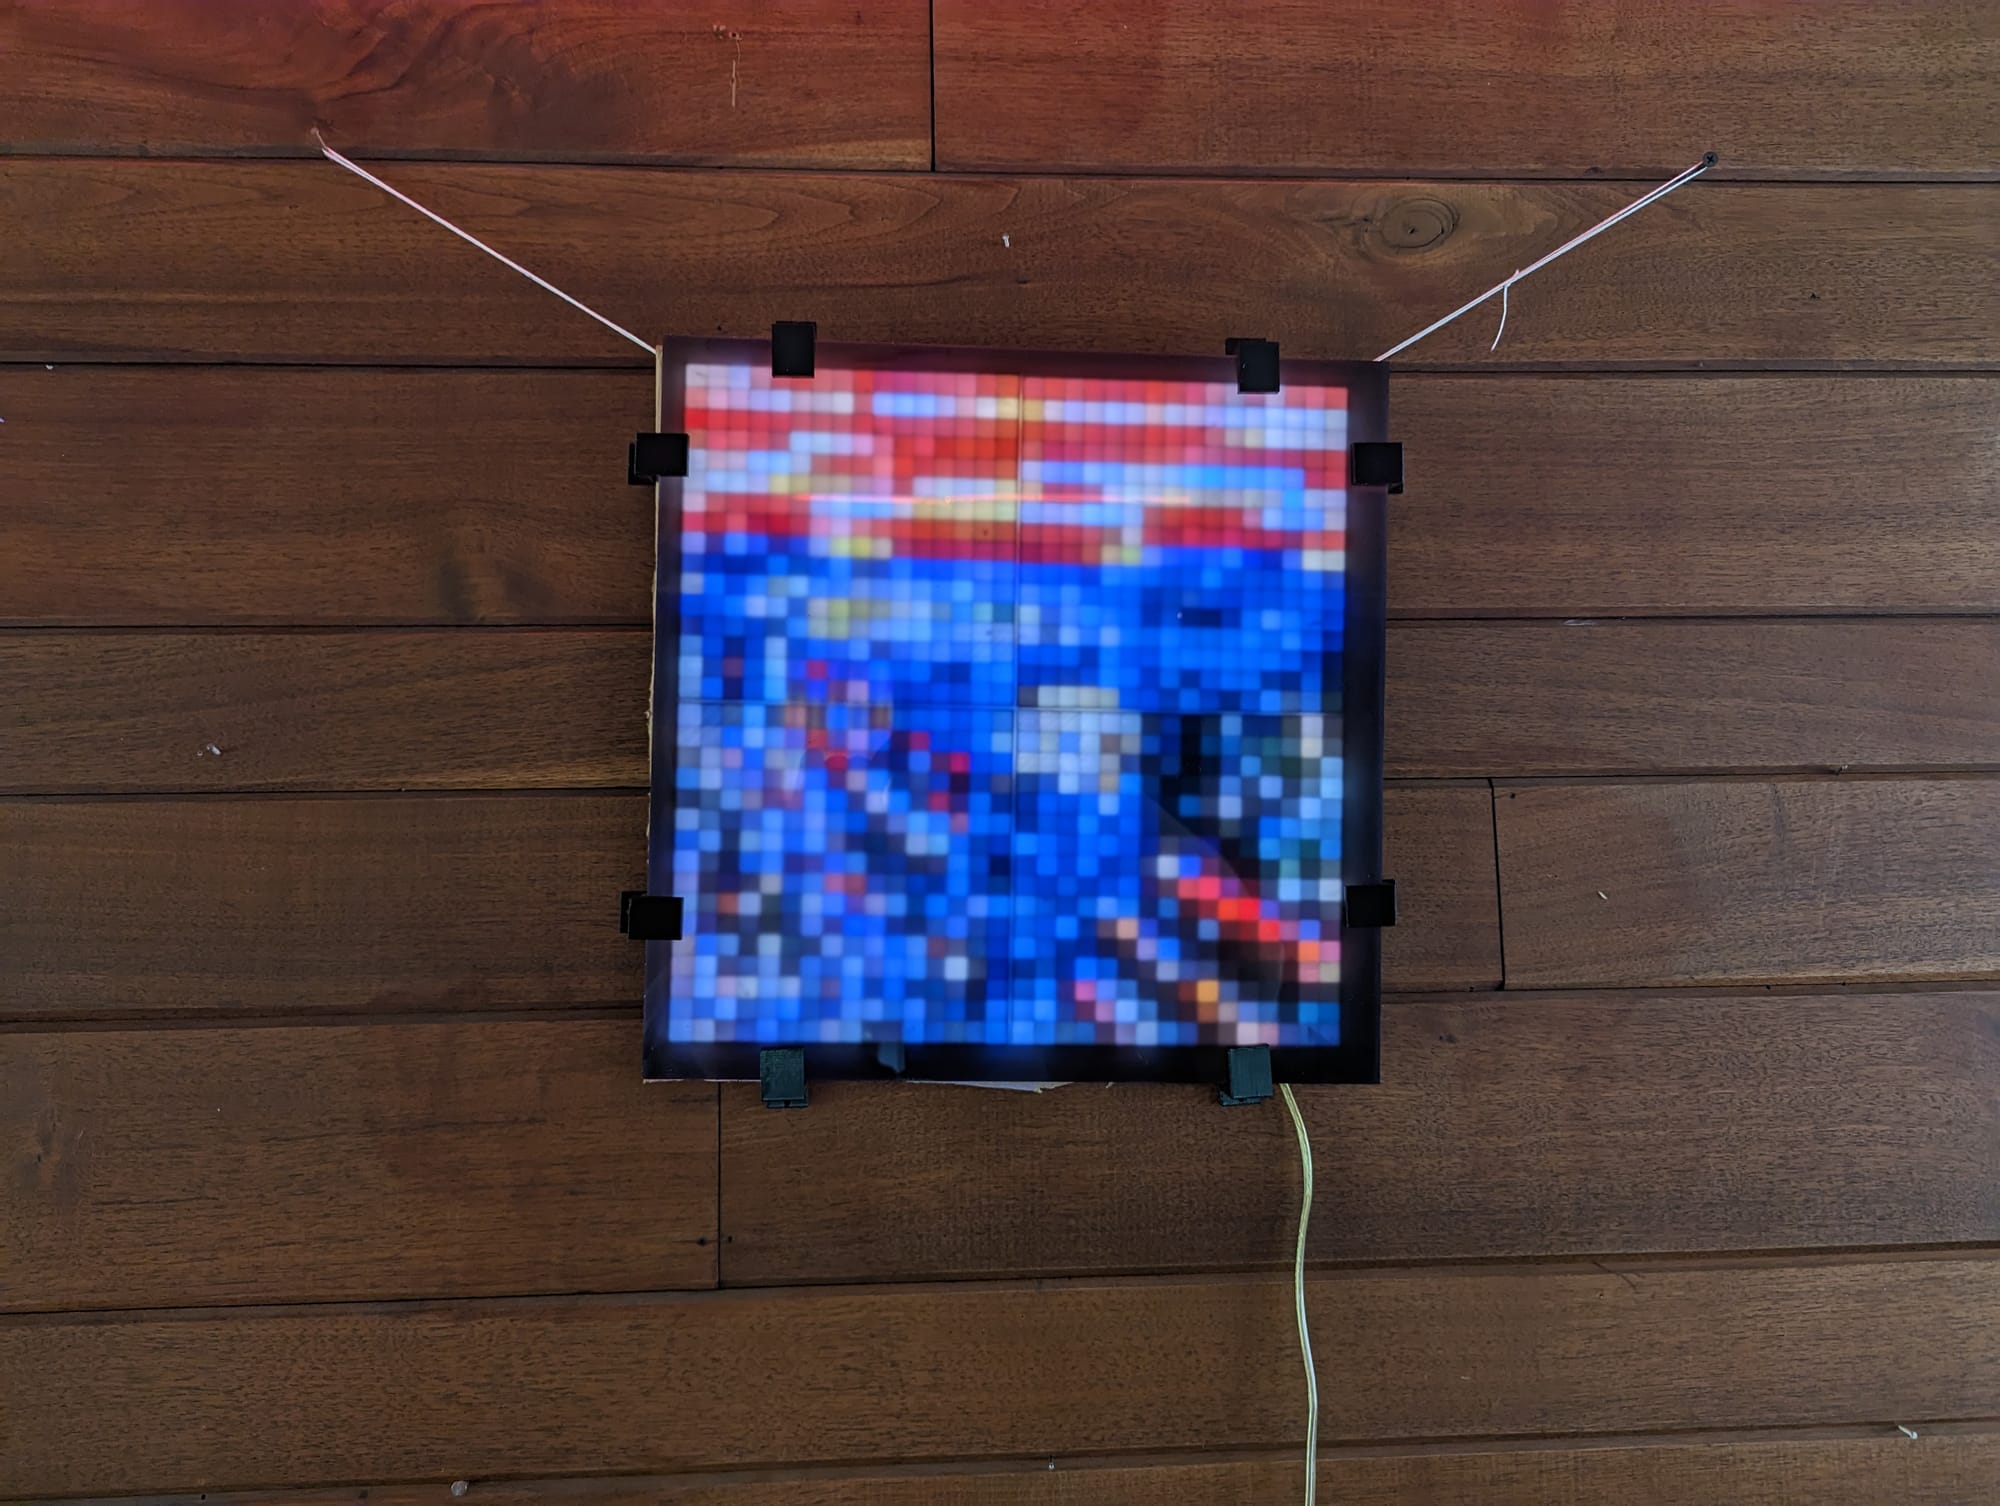
I essentially have a 32x32 resolution screen to play with. I've converted a few images (like the bastardization of Edvard Munch's 'The Scream' above - it works better at a distance) into pixelmaps, and it will rotate through a bunch of them, but I mostly focused on working with 2d animations.
This is just after I put it together, but before I decided to get black acrylic for the face.
A short animation after I added the acrylic
Upgrades
So of course after I got the matrix code working well, I had to run around the house looking for any "older" projects that had an array of LEDs that could be convinced to represent themselves in an X/Y sort of way. I had a few. Frame was an obvious contender, the strips in that were basically a matrix already. I didn't have to adapt much in Honeycomb, either. I tried playing around with 2d effects with my Panel Lights, but I never got anything I was happy with. Taking a 2d image, turning it inside out, and just drawing the outline in color wasn't anywhere near cool enough to replace the effects I had already made for them. Going forward, however, this would be a design consideration for future lights.
Bedroom Frame
Our bedroom has always gotten some of the cast offs lighting wise when compared to the rest of the house. It makes sense, I spend the least time there. With that in mind, I decided to put whichever of the matrix lights I liked better in the bedroom. It was definitely this one.
I made a few changes to the build plans for the second round of this build. First, I opted for (4) 16x16 panels, instead of the (4) 8x32 panels. This ended up not making a huge difference, but I had never used the square ones before, so it was decent excuse to try them out.
I also opted to not print a square pixel diffuser for this one. Instead, I found a scalable picture frame model on printables and modified it for my uses. It holds a piece of black LED acrylic, and a spacer. The matrix is attached to the wall, and the frame hung in front of it to create a throw distance of about an inch. This allows the light from the leds to blend before it contacts the diffuser, producing a much smoother image. This makes it terrible for pixel art, but amazing for other effects.
The other big difference was the controller. I traditionally utilize the venerable ESP8266 or its big brother the ESP32. For this one, I needed a bit more beef, so I went with the Teensy 4.1. This based on the recommendation of Stefan Petrick, who's temporal dithering code heavily inspired this build. I'm actually using a few of his effects directly without a ton of modification.
These videos are both from before I hung it up in our bedroom.
This light can grab your attention and hold it for minutes at a time.
Tetris Clock
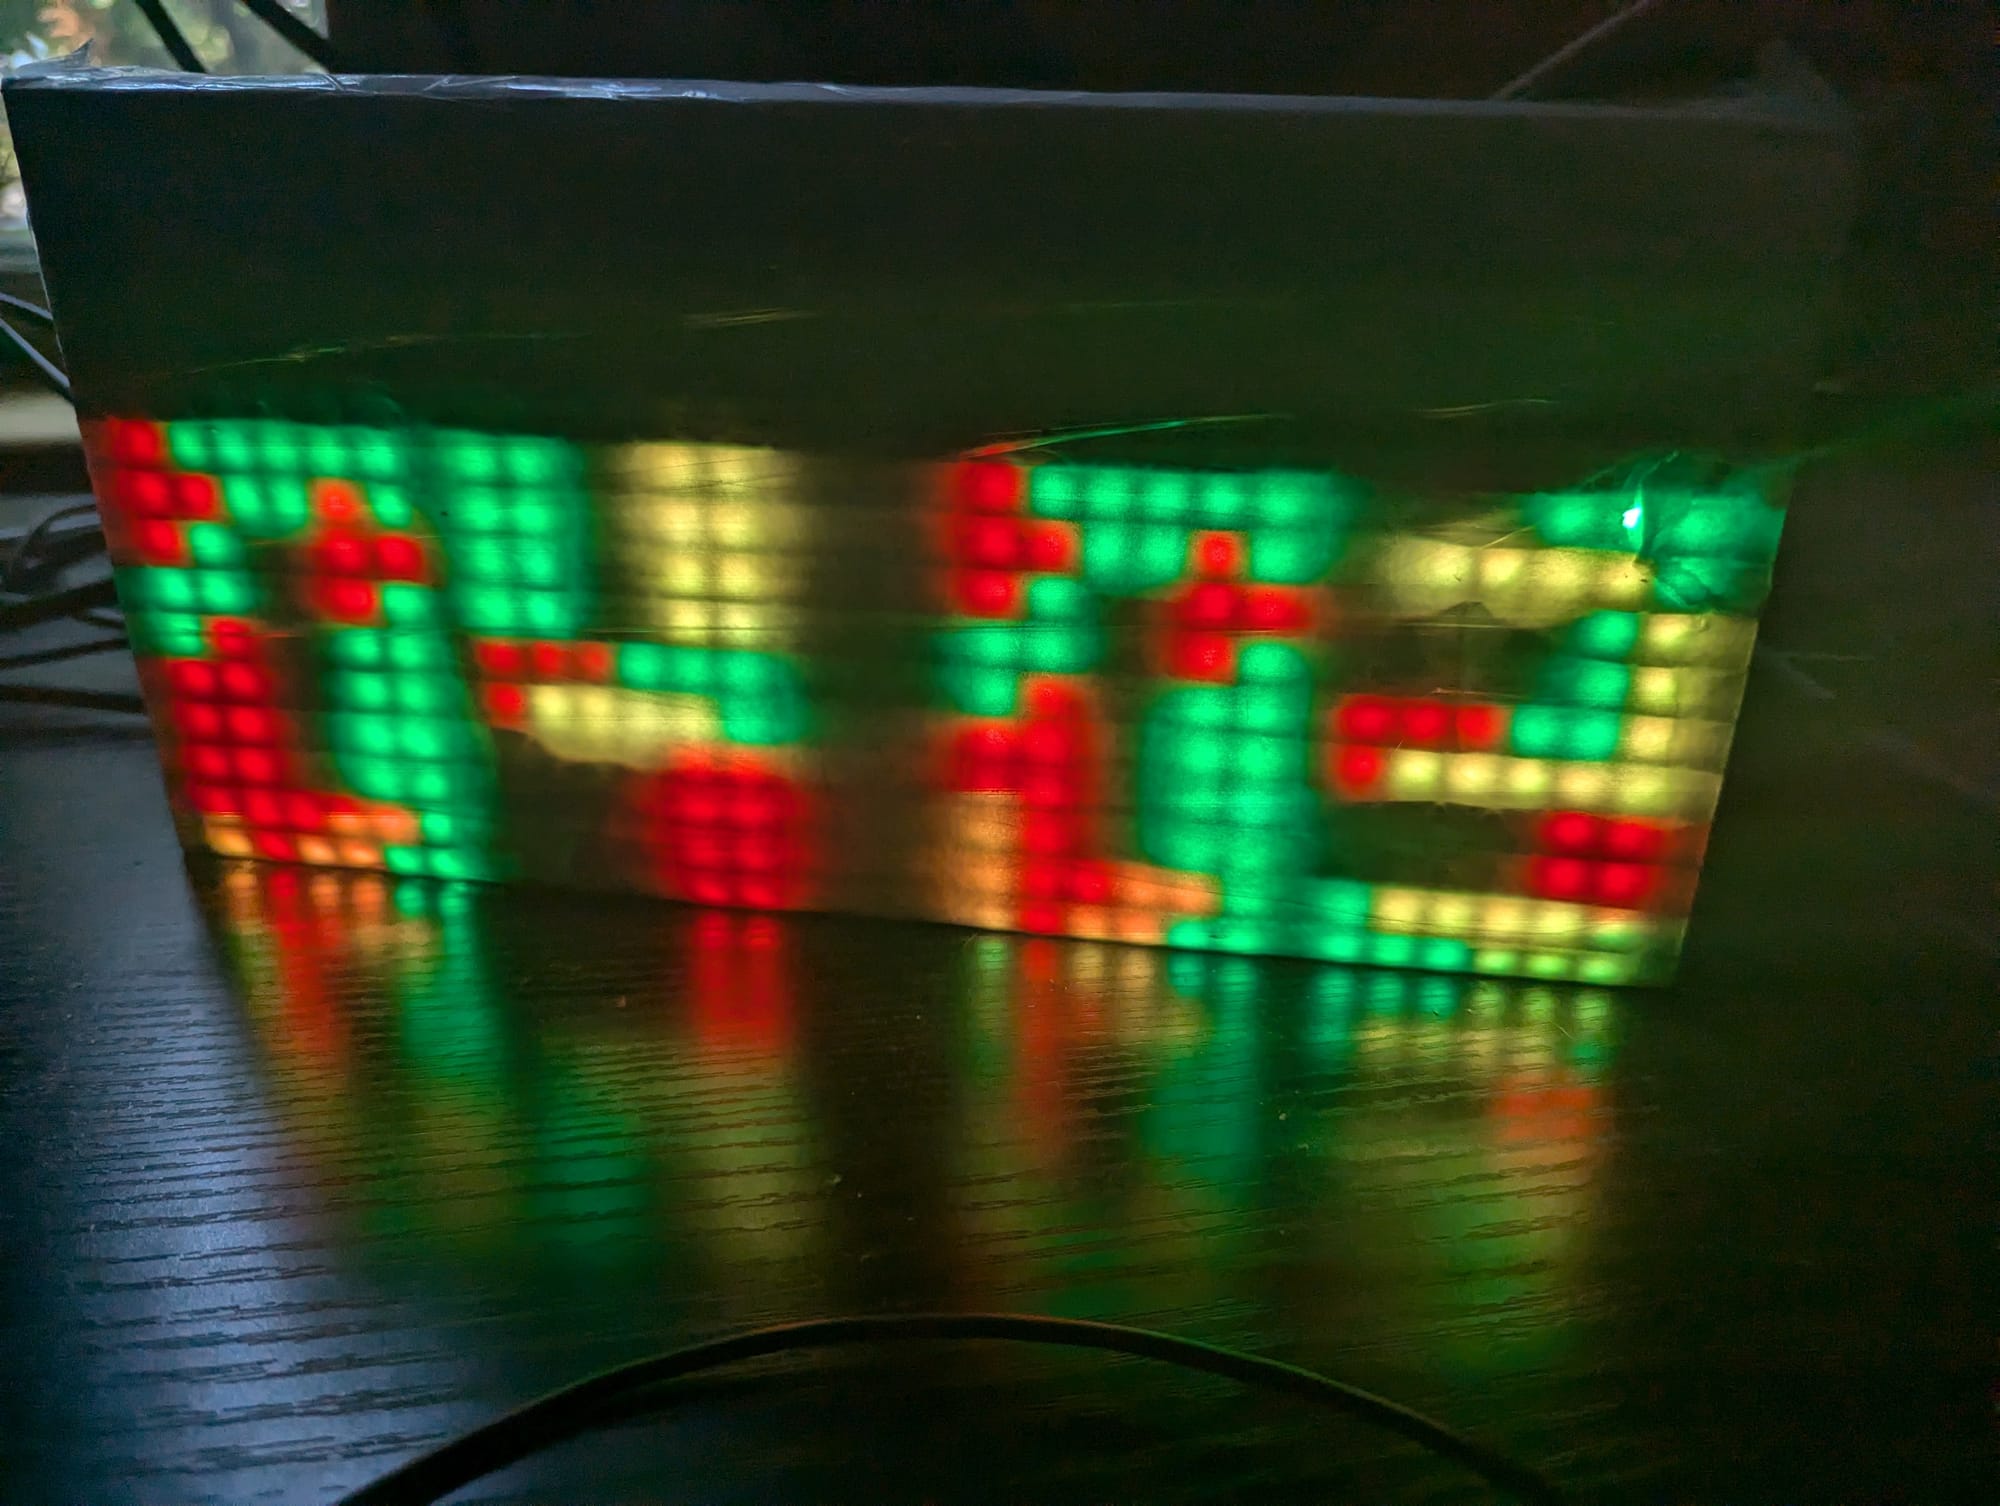
Shoutout to Tetris Clock, which is the first matrix I ever worked with, as well as being one of the first micro-controller projects I built. That said, I didn't write the code, and all I did to "build" it was flash someone else's code to a micro-controller (this originally used an arduino, I ported the code to an esp8266 a few years later) and connect it to a P5 LED Sign Panel. I can't find the code or my order for the panel anymore, so I don't have any other details to share, other than it has been happily dropping blocks to advance the time for more than 12 years.

This article is part of a series on LED Art as I attempt to document all of the different LED projects I have built over the years.
More will be added as time goes on. The list of currently available articles can be found here: https://dzw.zentormey.com/tag/leds/

Member discussion: